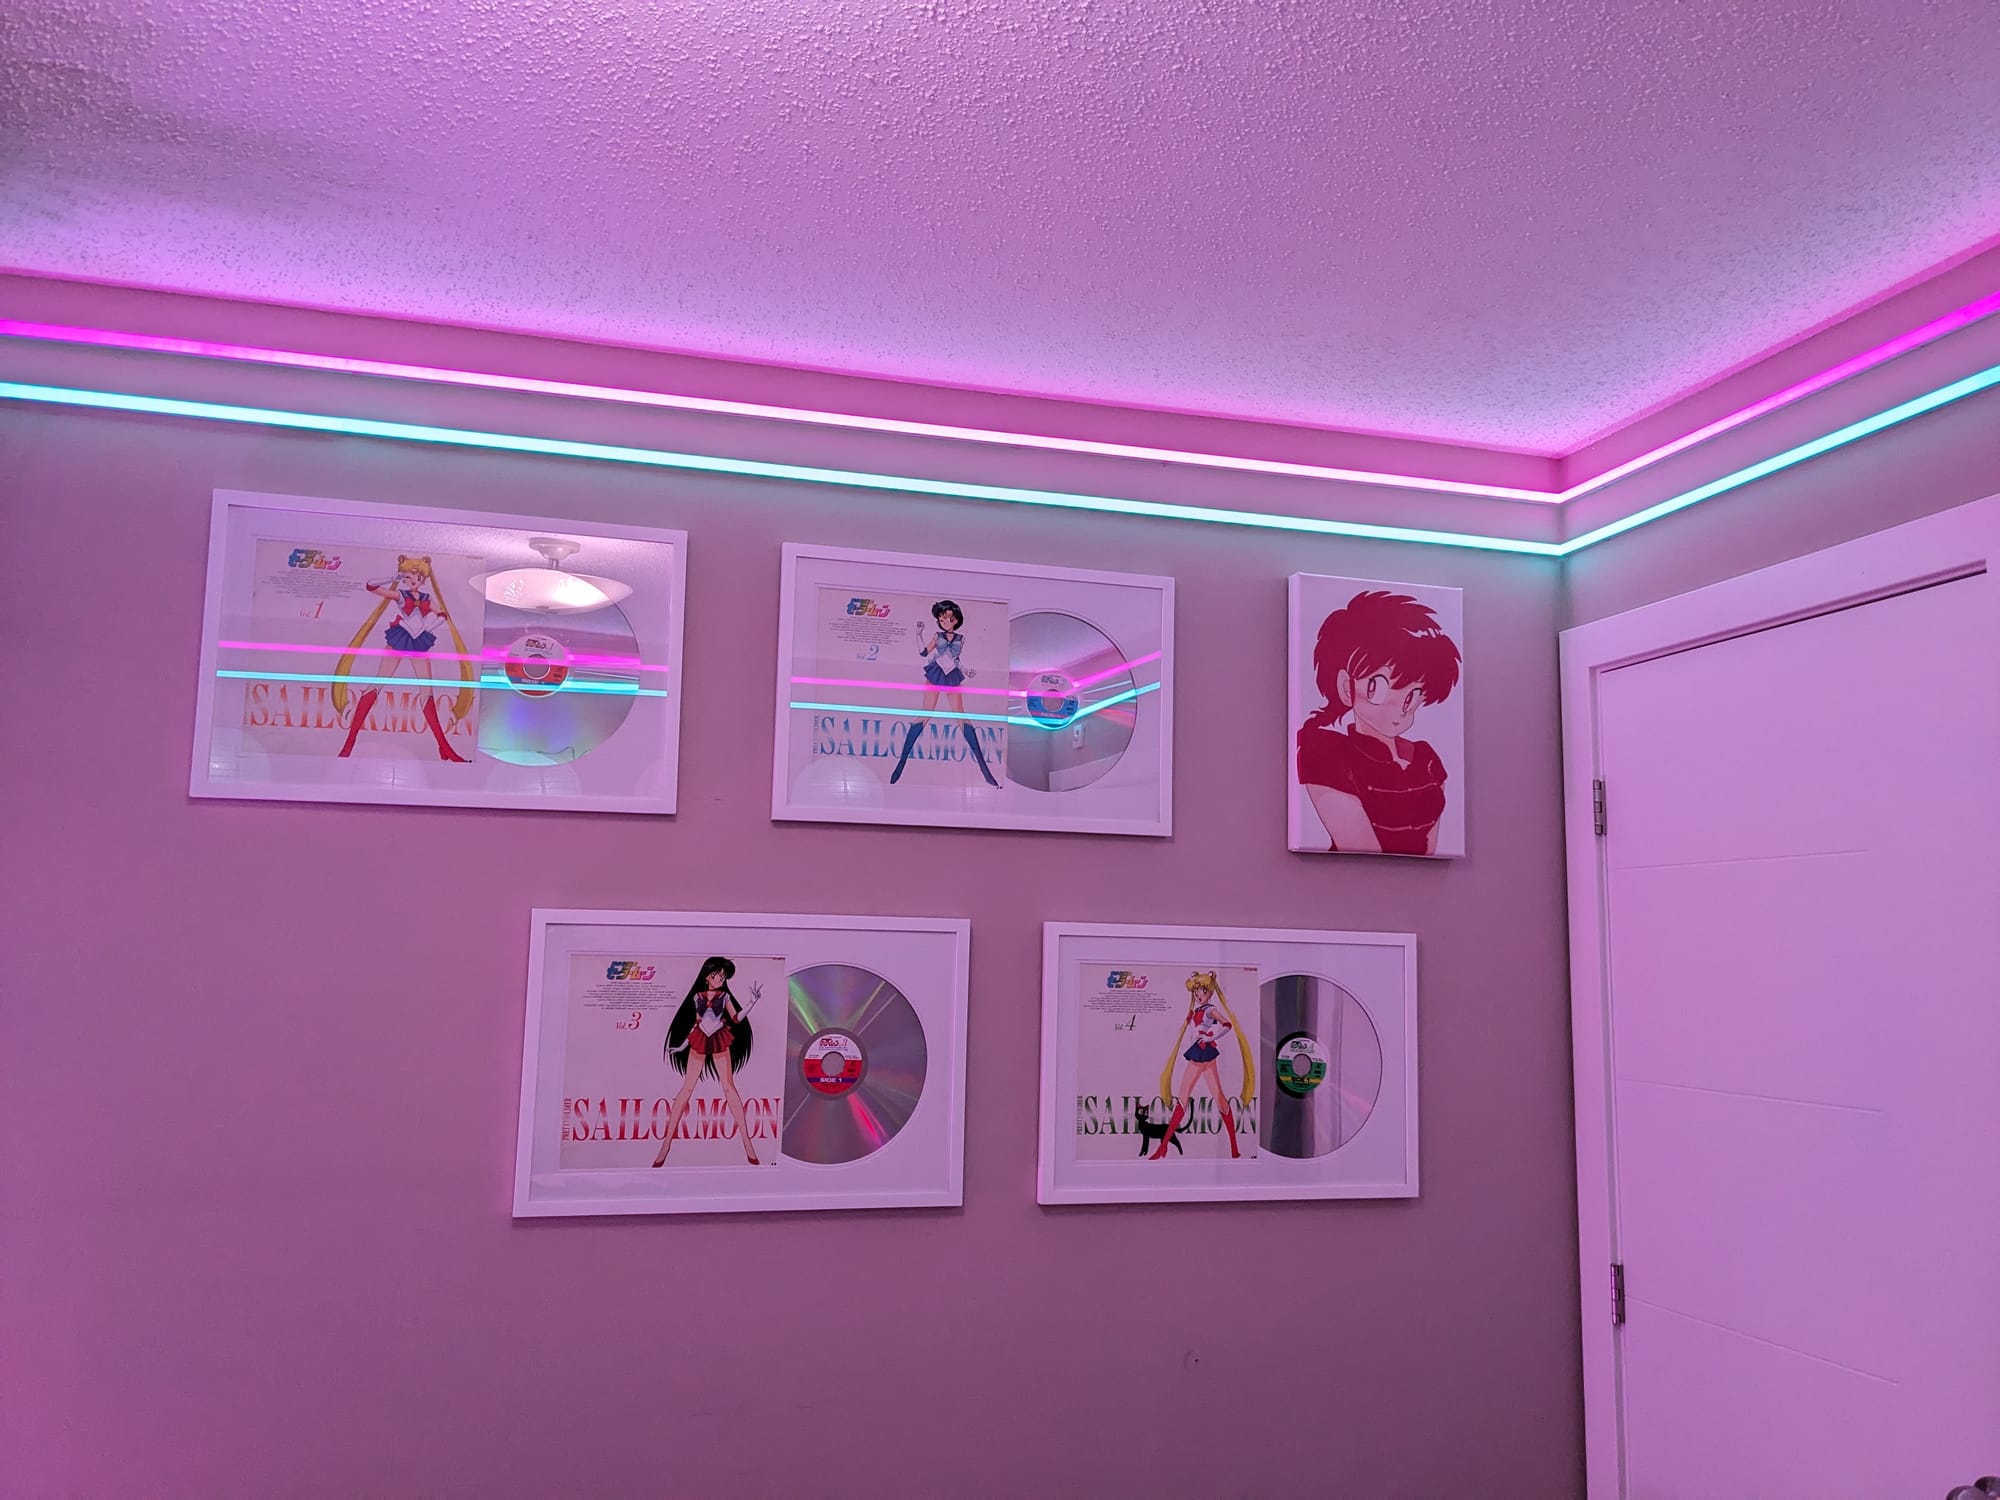
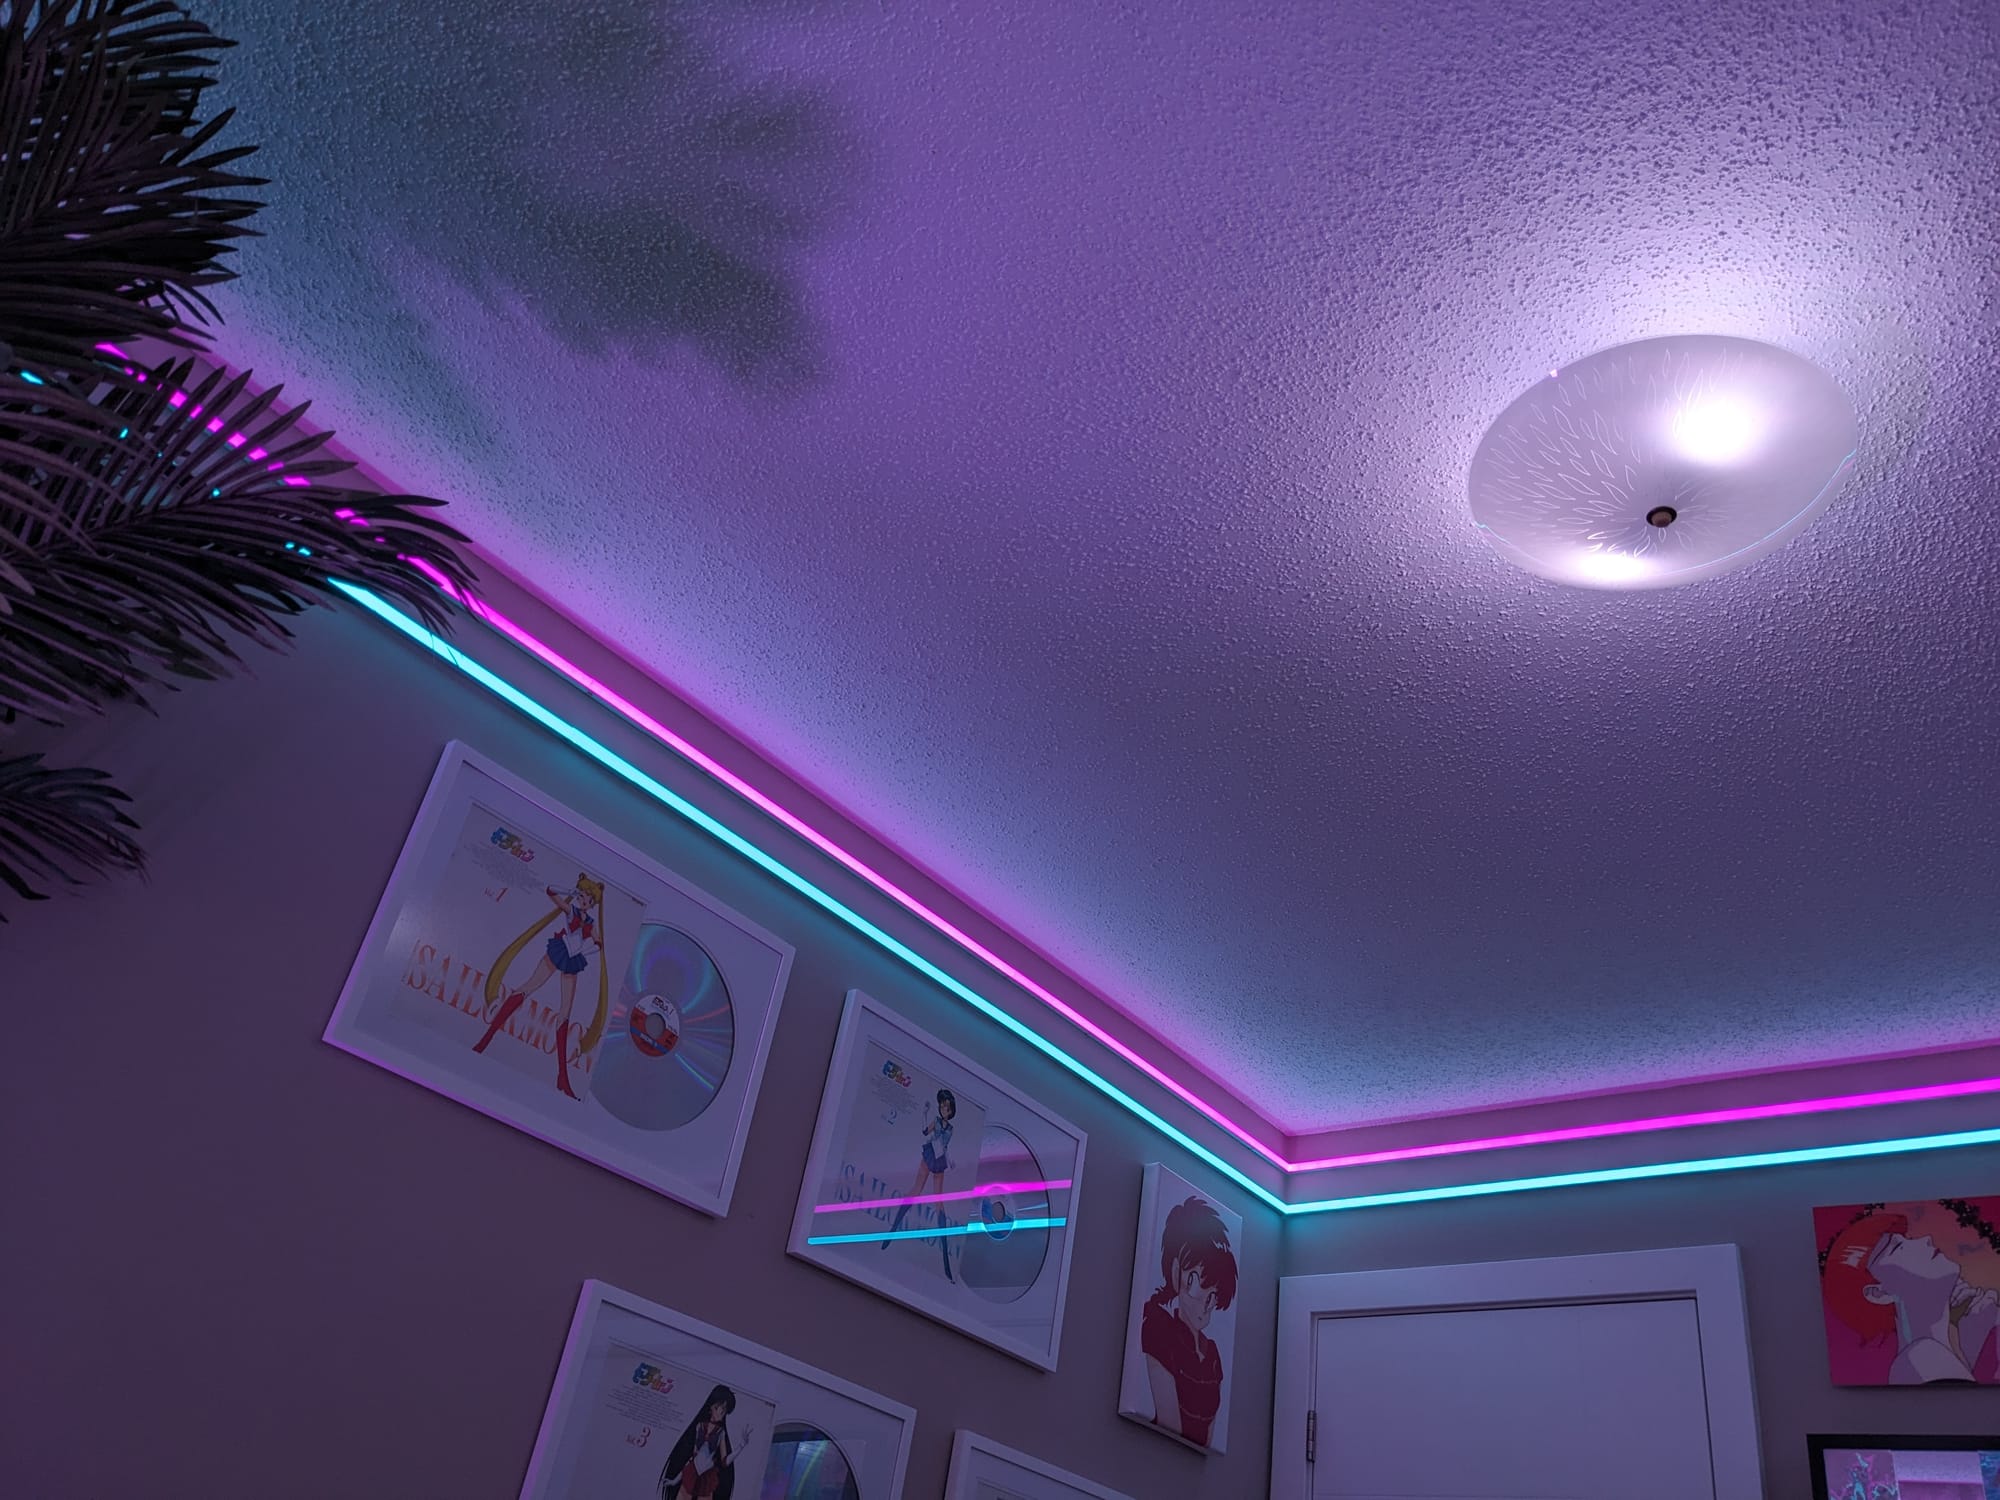
As an electronics nerd and sometimes musician, I decided one of my household projects would be to decorate a bedroom with a mallsoft/vaporwave look. To those unfamiliar, this subgenre aesthetic hearkens back to the heyday of mall culture in the late 1980s to early 1990s complete with neon lights, (fake) palm trees, washed out colour palettes, checkerboard tiles, escalators, gaudy fountains and statues, and nostalgic reminders of the corporate franchises of yesteryear.
While the room is far from complete, the lighting, which was the centrepiece (or circum-piece as it were) of my plan circa January 2023, was largely complete by the end of 2023 with many lessons learned along the way.
The original idea was pink and cyan neon-esque lighting completely surrounding the room, taking inspiration from photos and artistic renderings of malls in the 1990s. The below image was my primary reference for the idea.
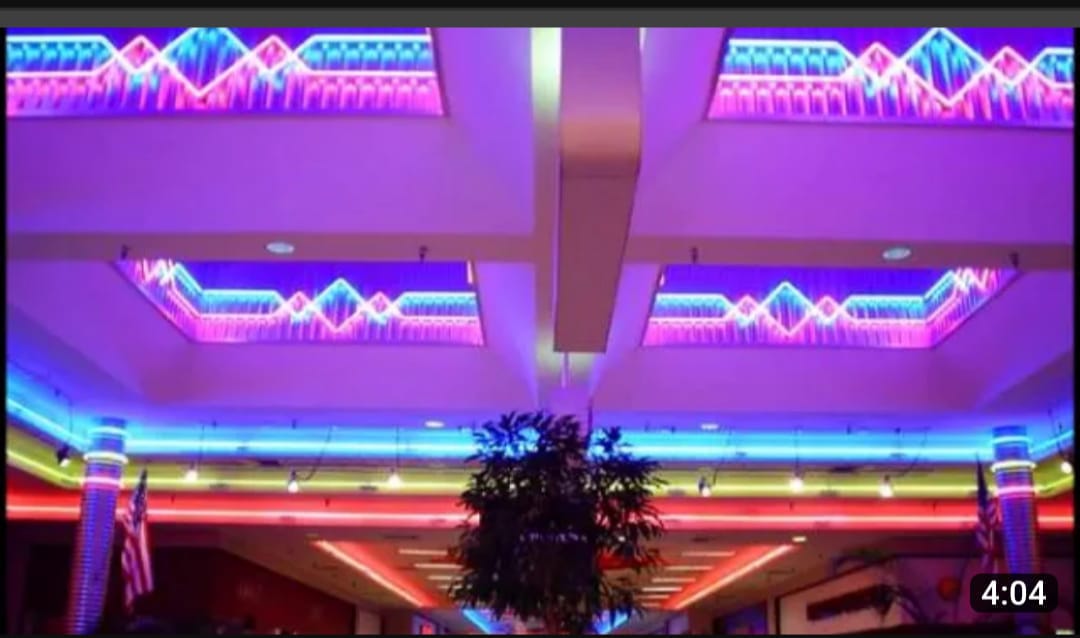
While I quickly dismissed the idea of crisscrossing the lights like the above given its high level of difficulty using LEDs, a crisscross pattern featured in my original plan, seen below.
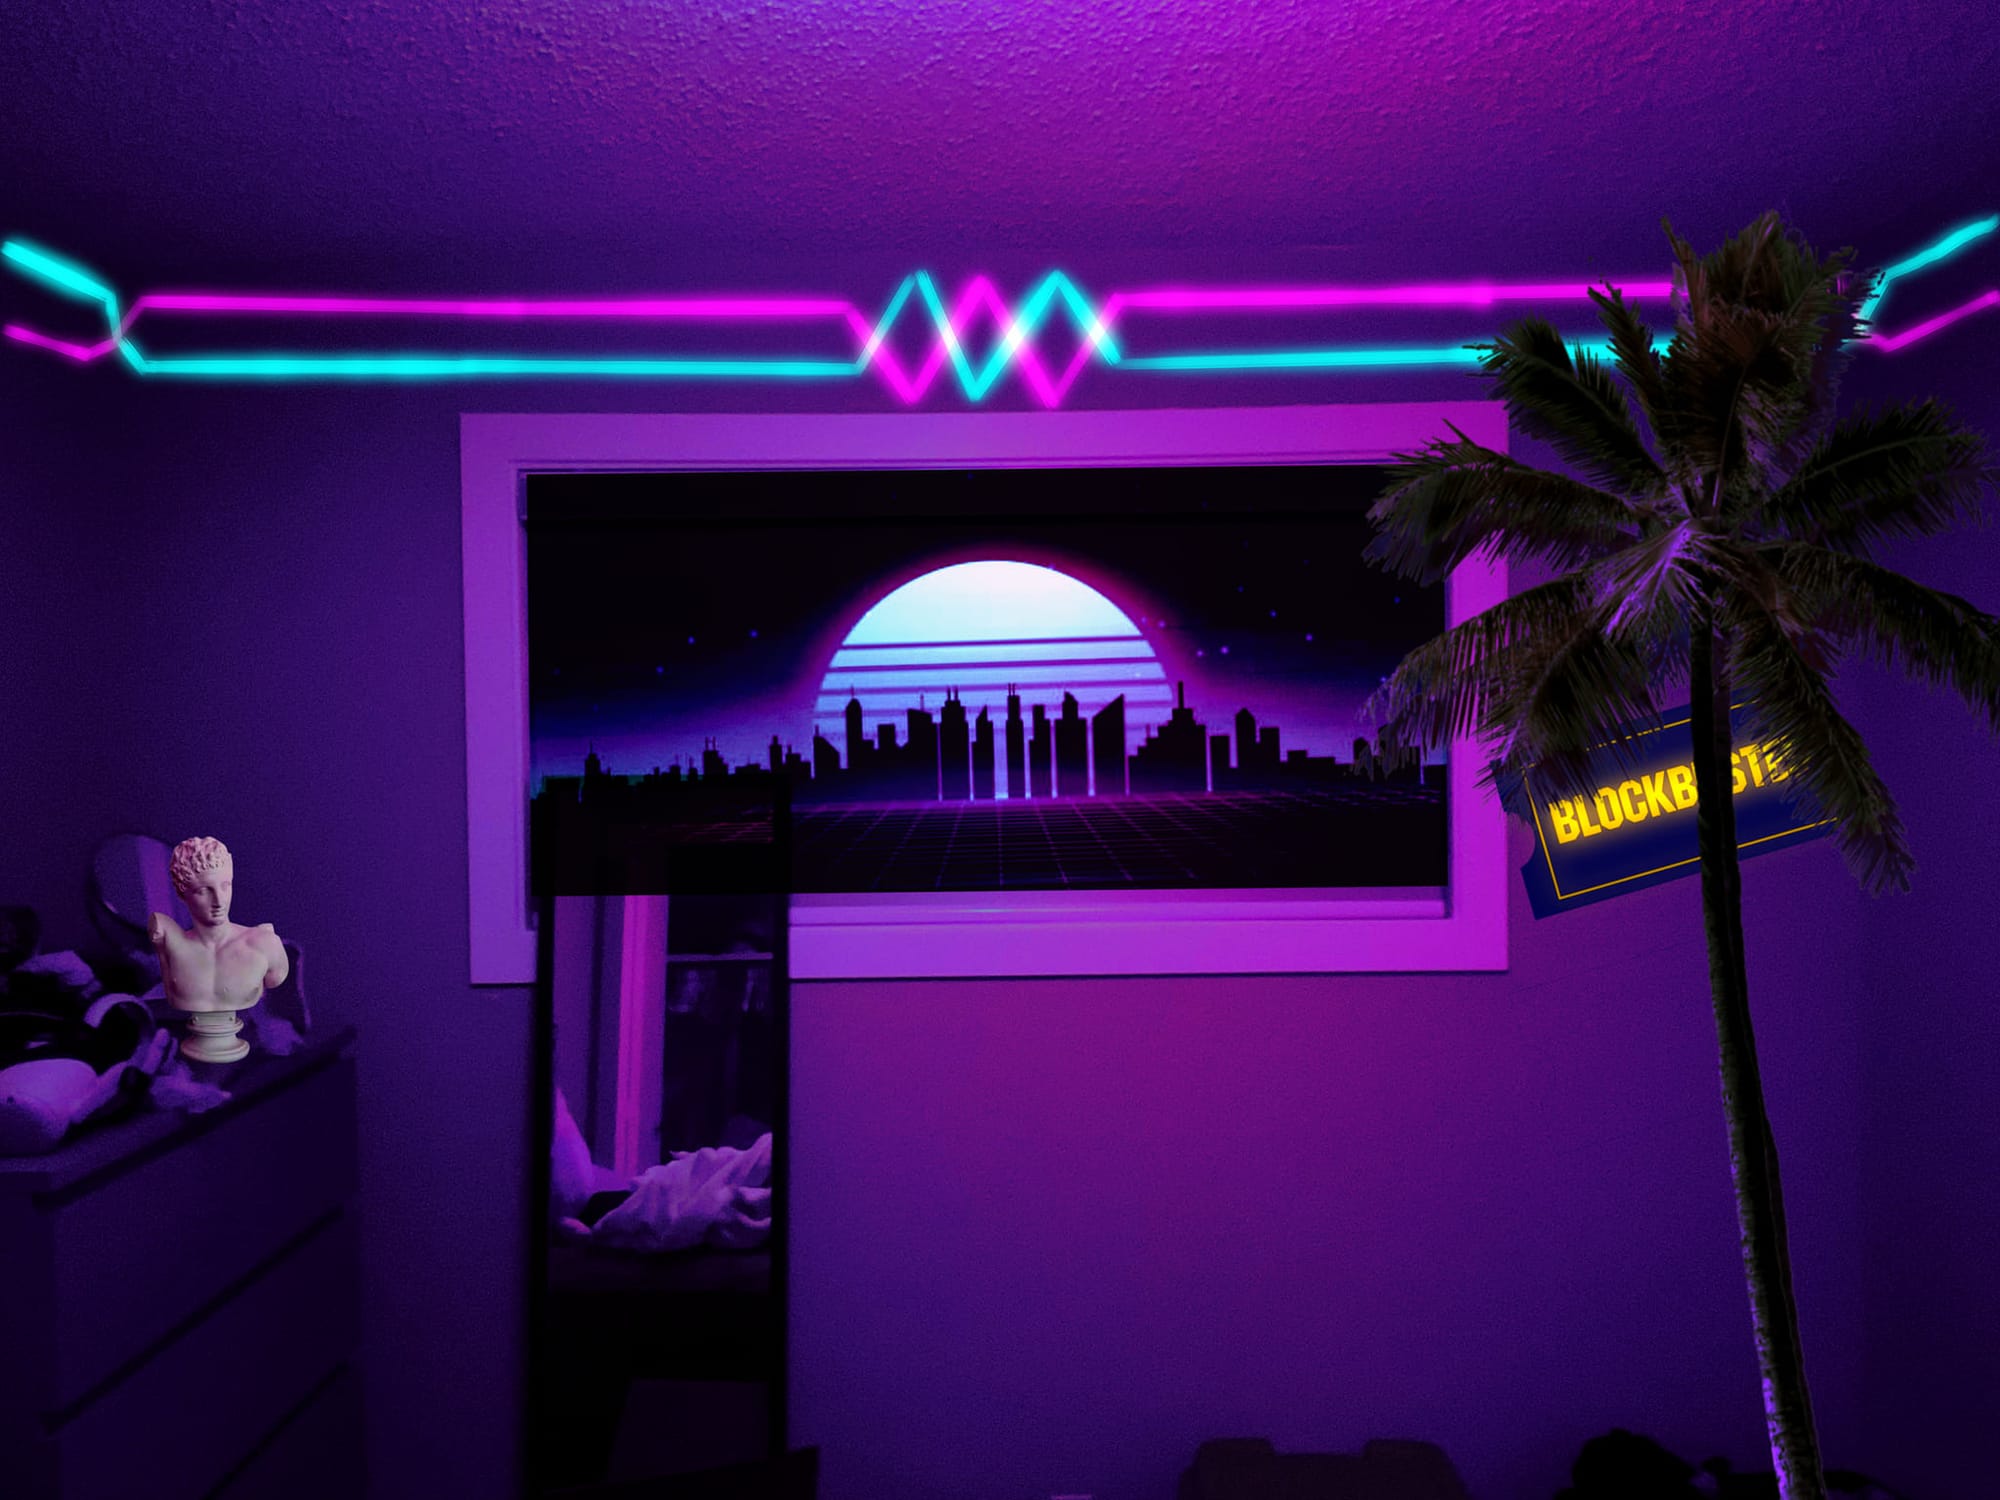
I had some idea of how I wanted to handle the lighting given my limited experience with addressable LEDs on some of the microcontroller development boards I owned, but I would soon learn that scaling that knowledge up would be remarkably difficult...
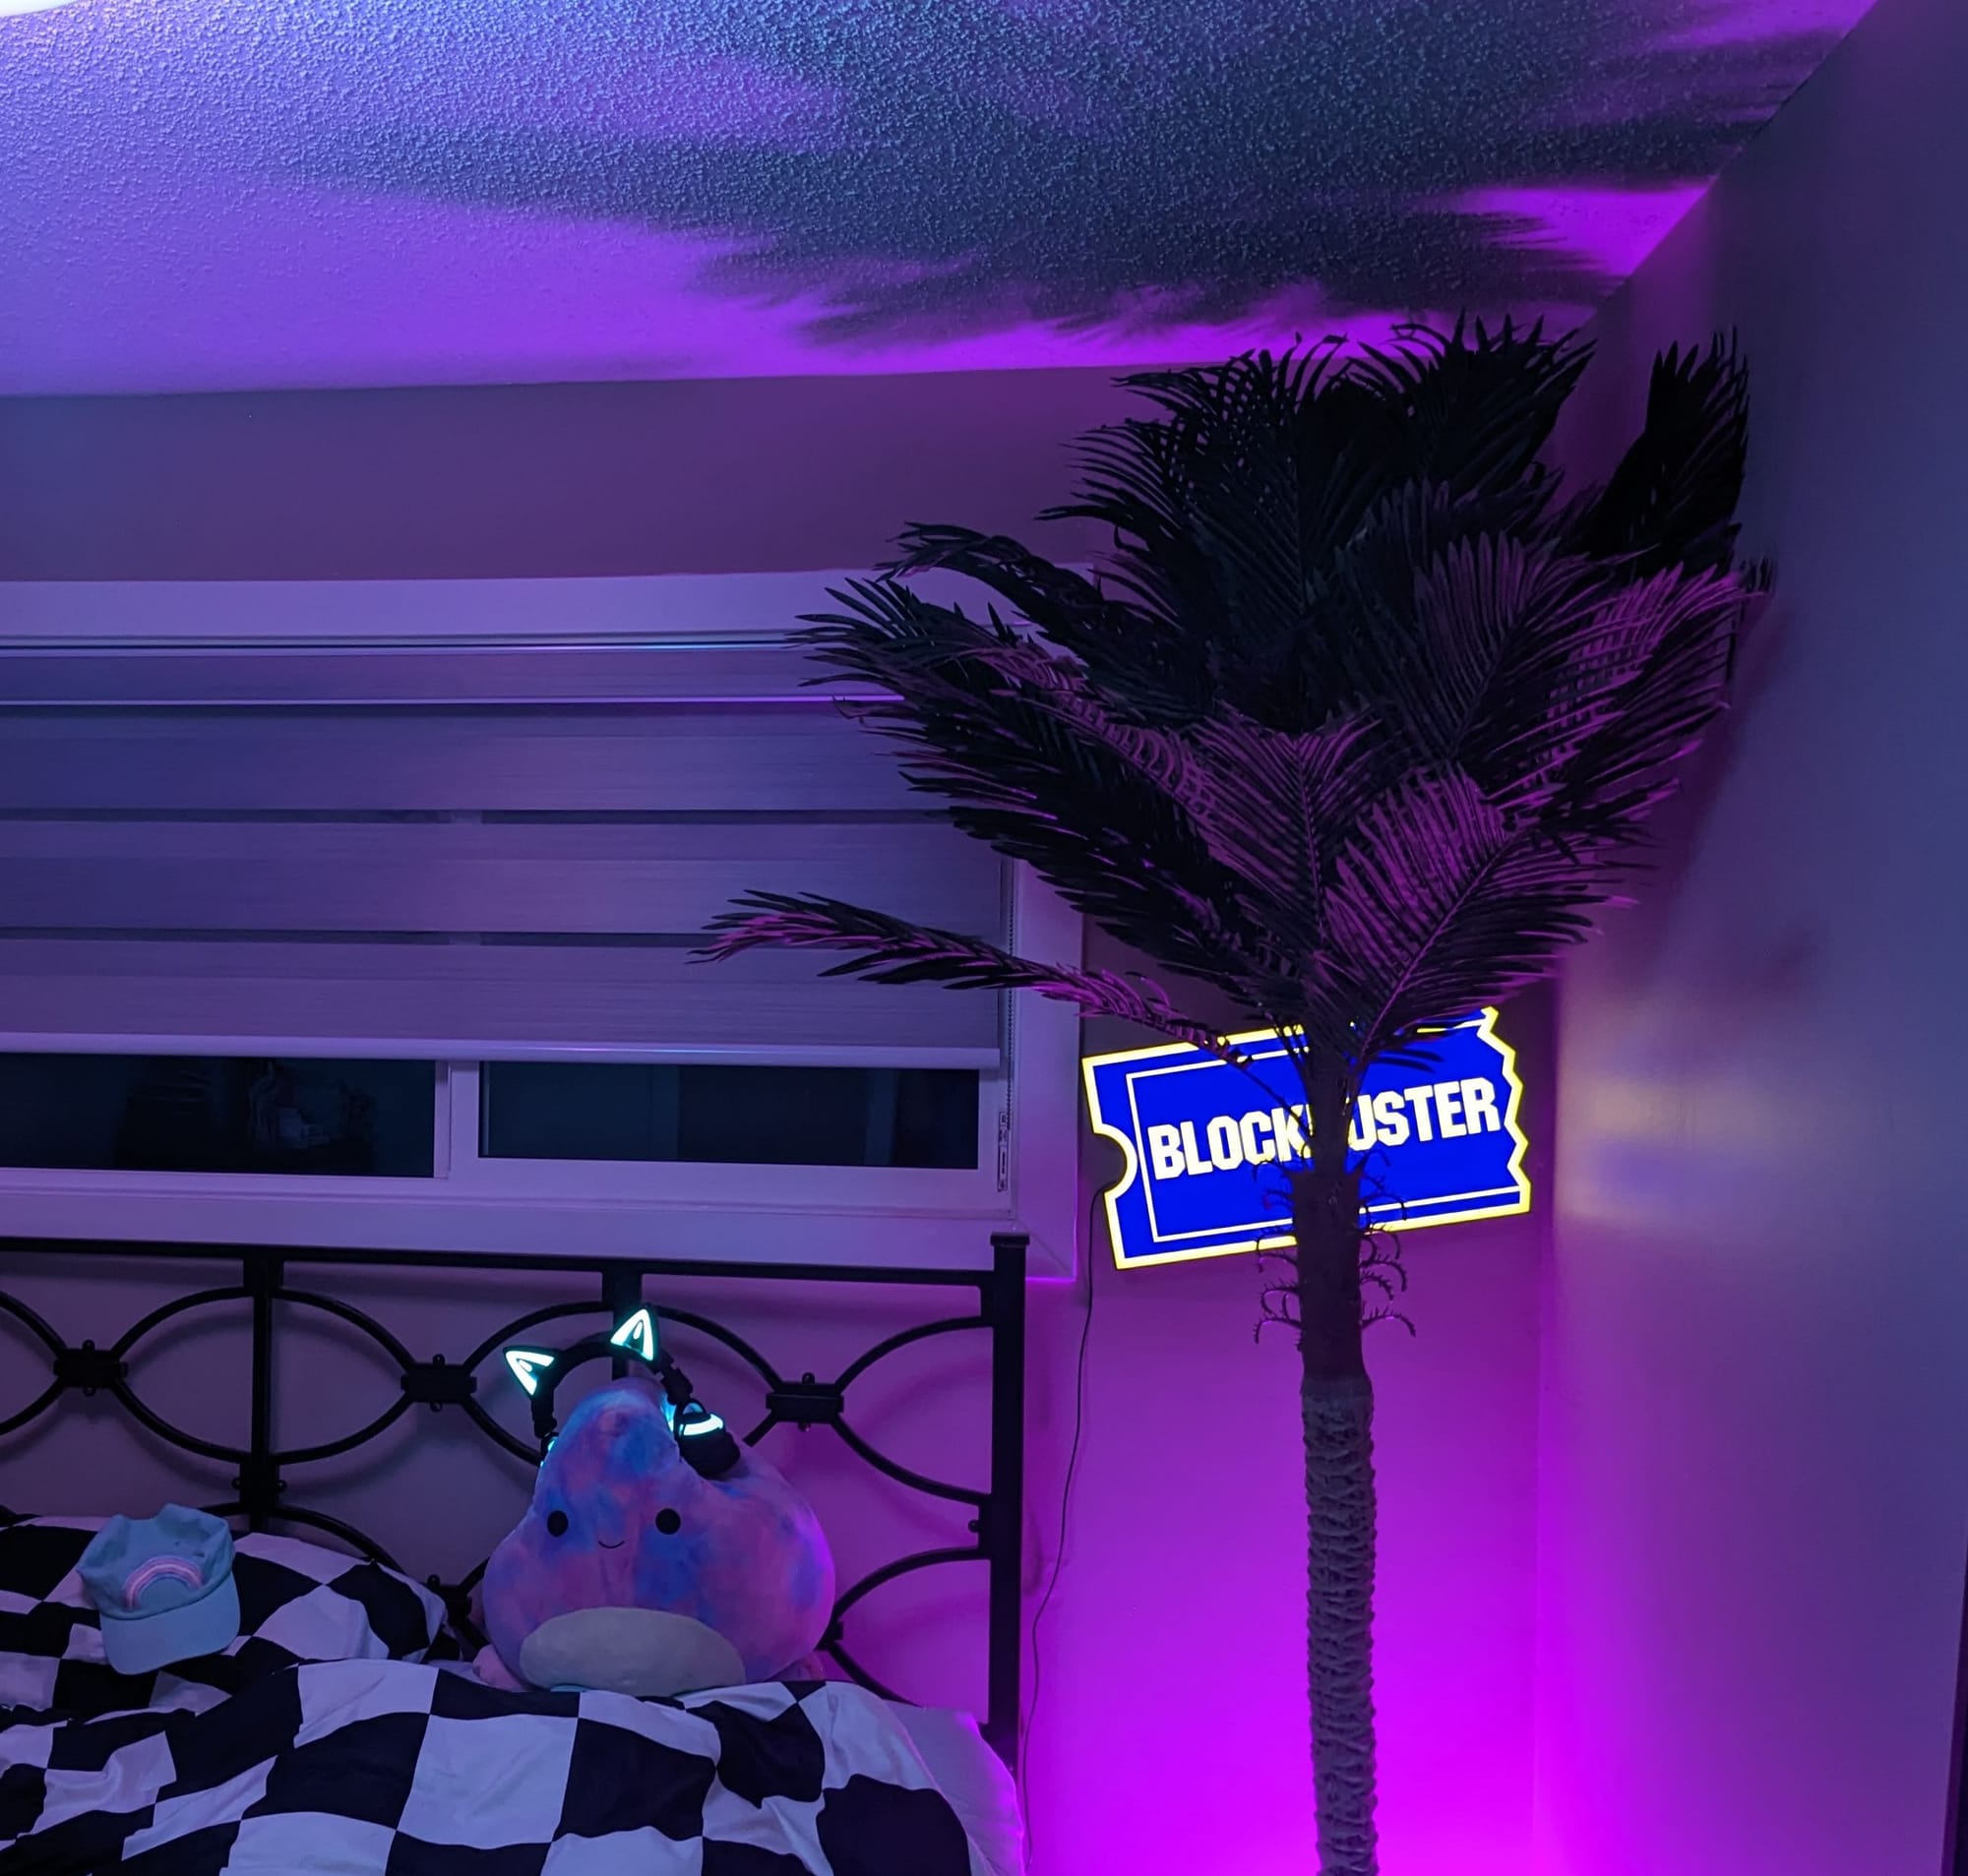
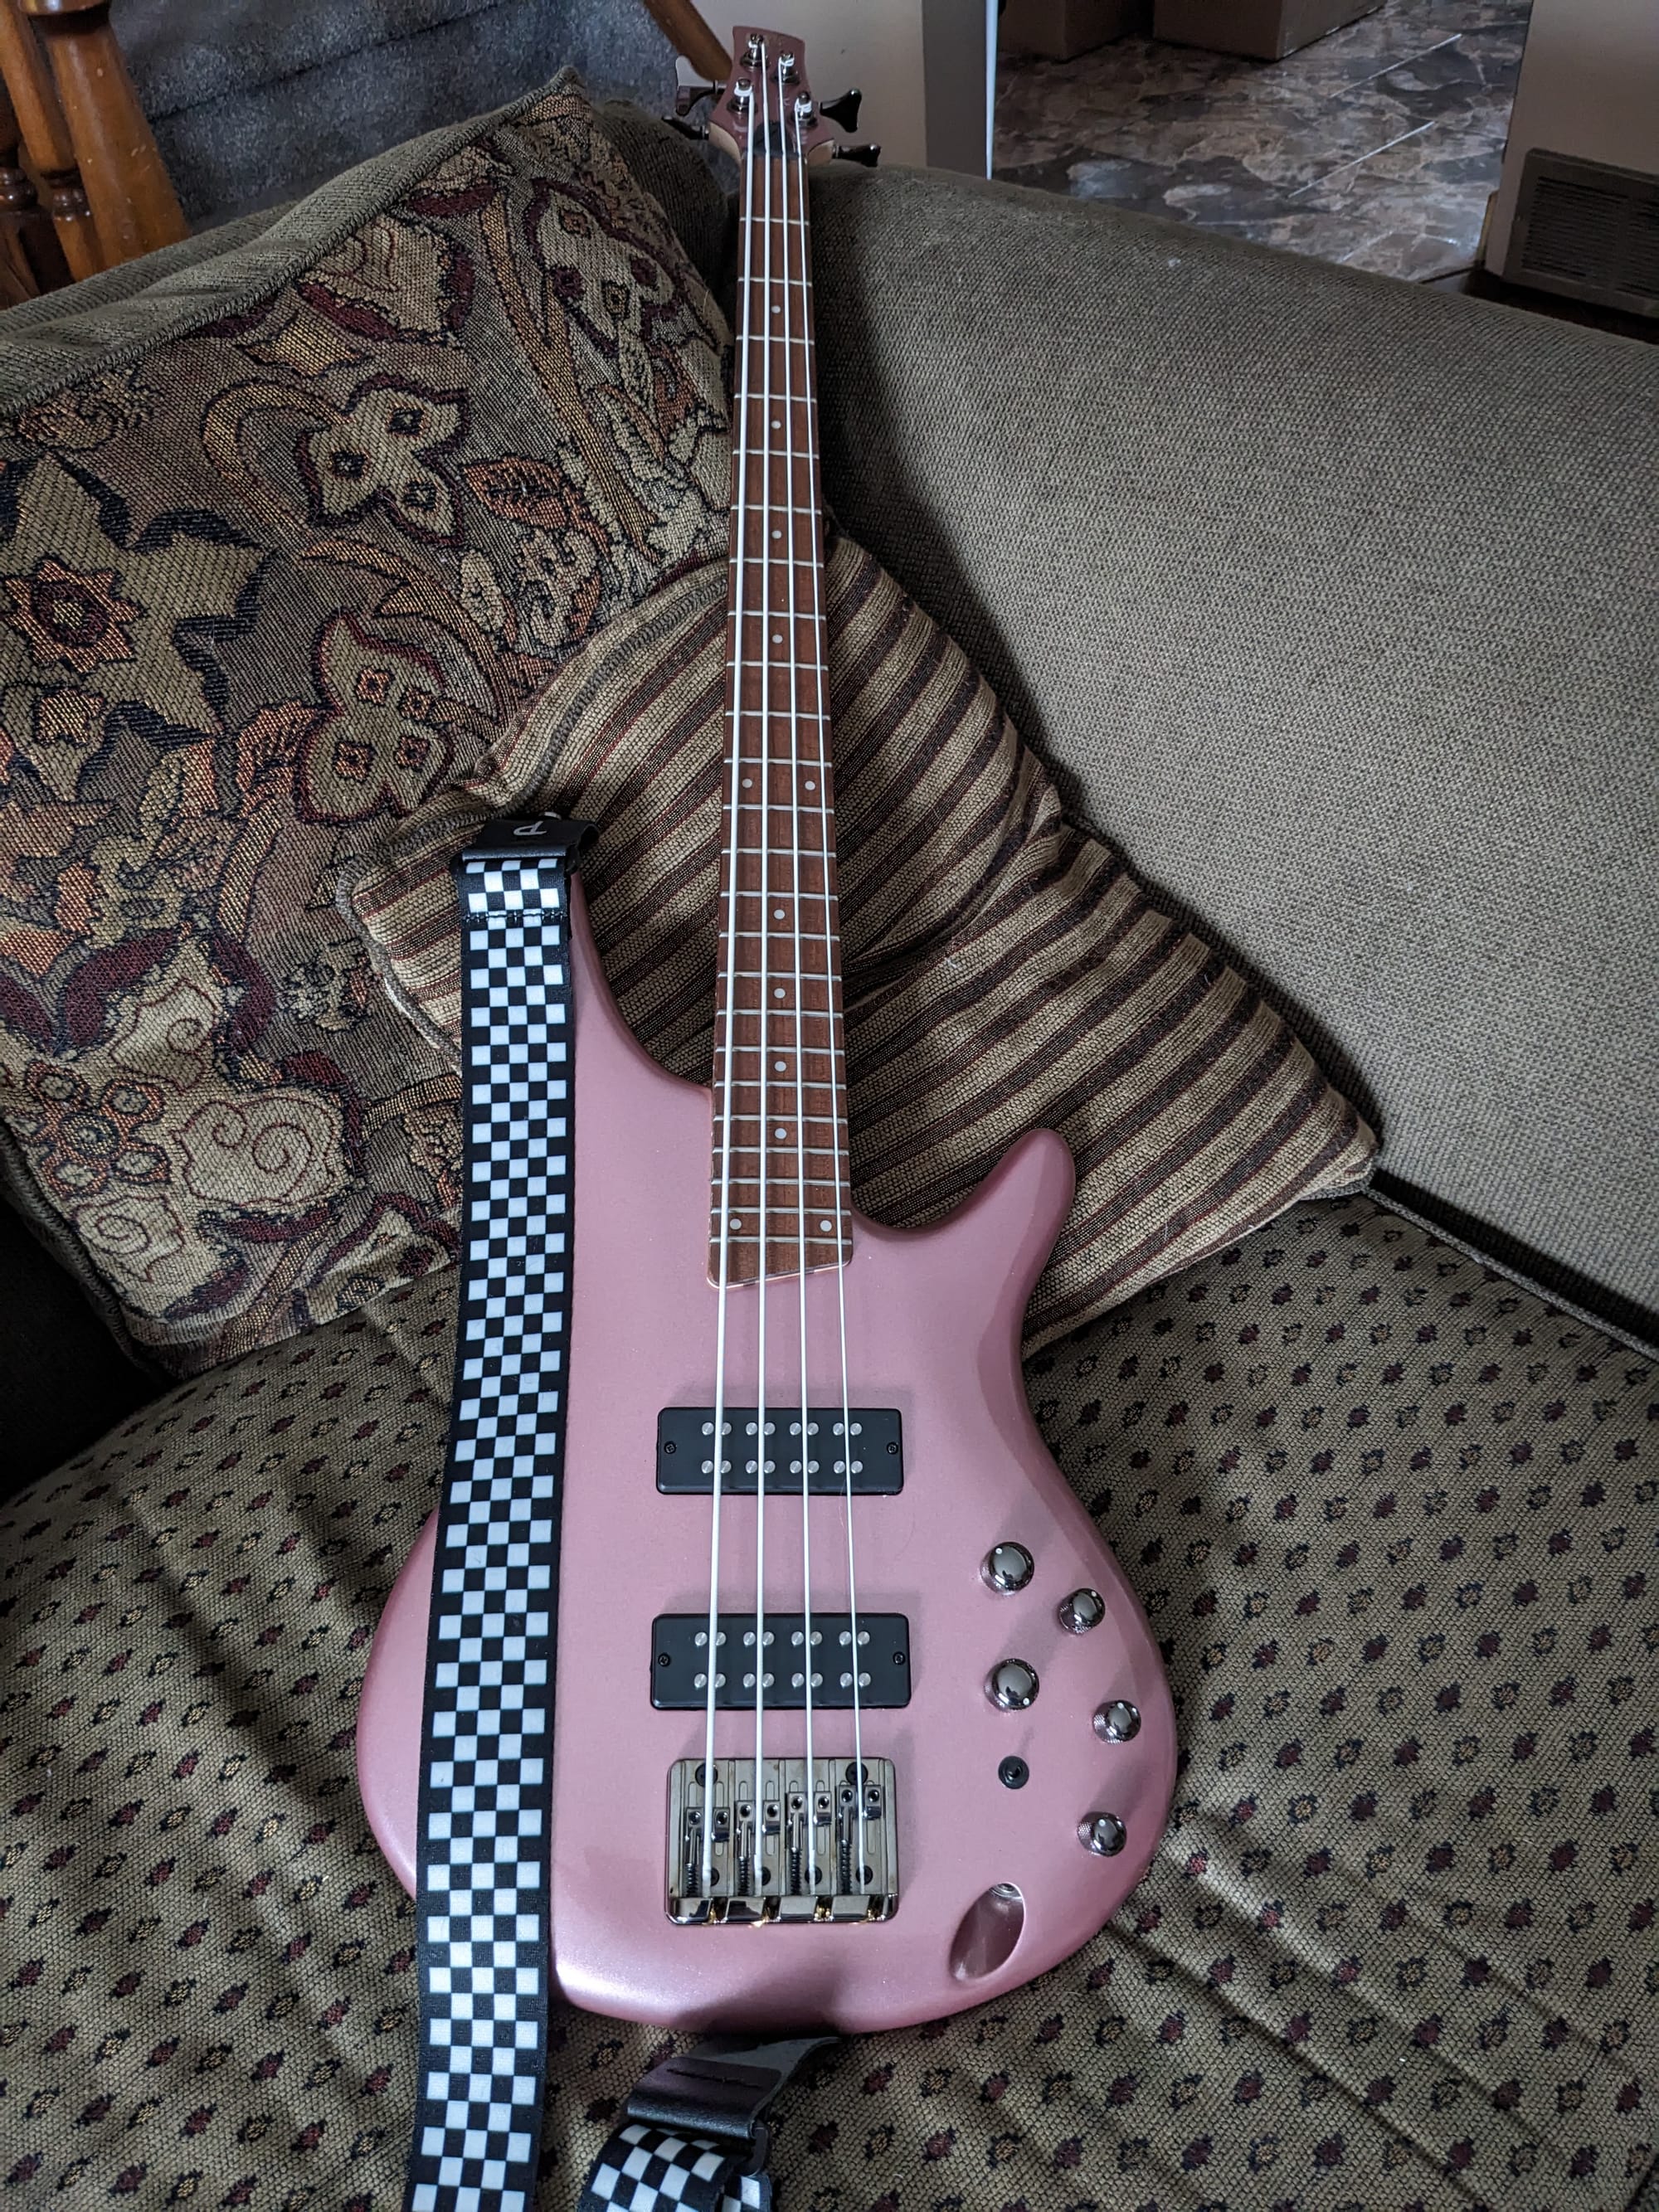
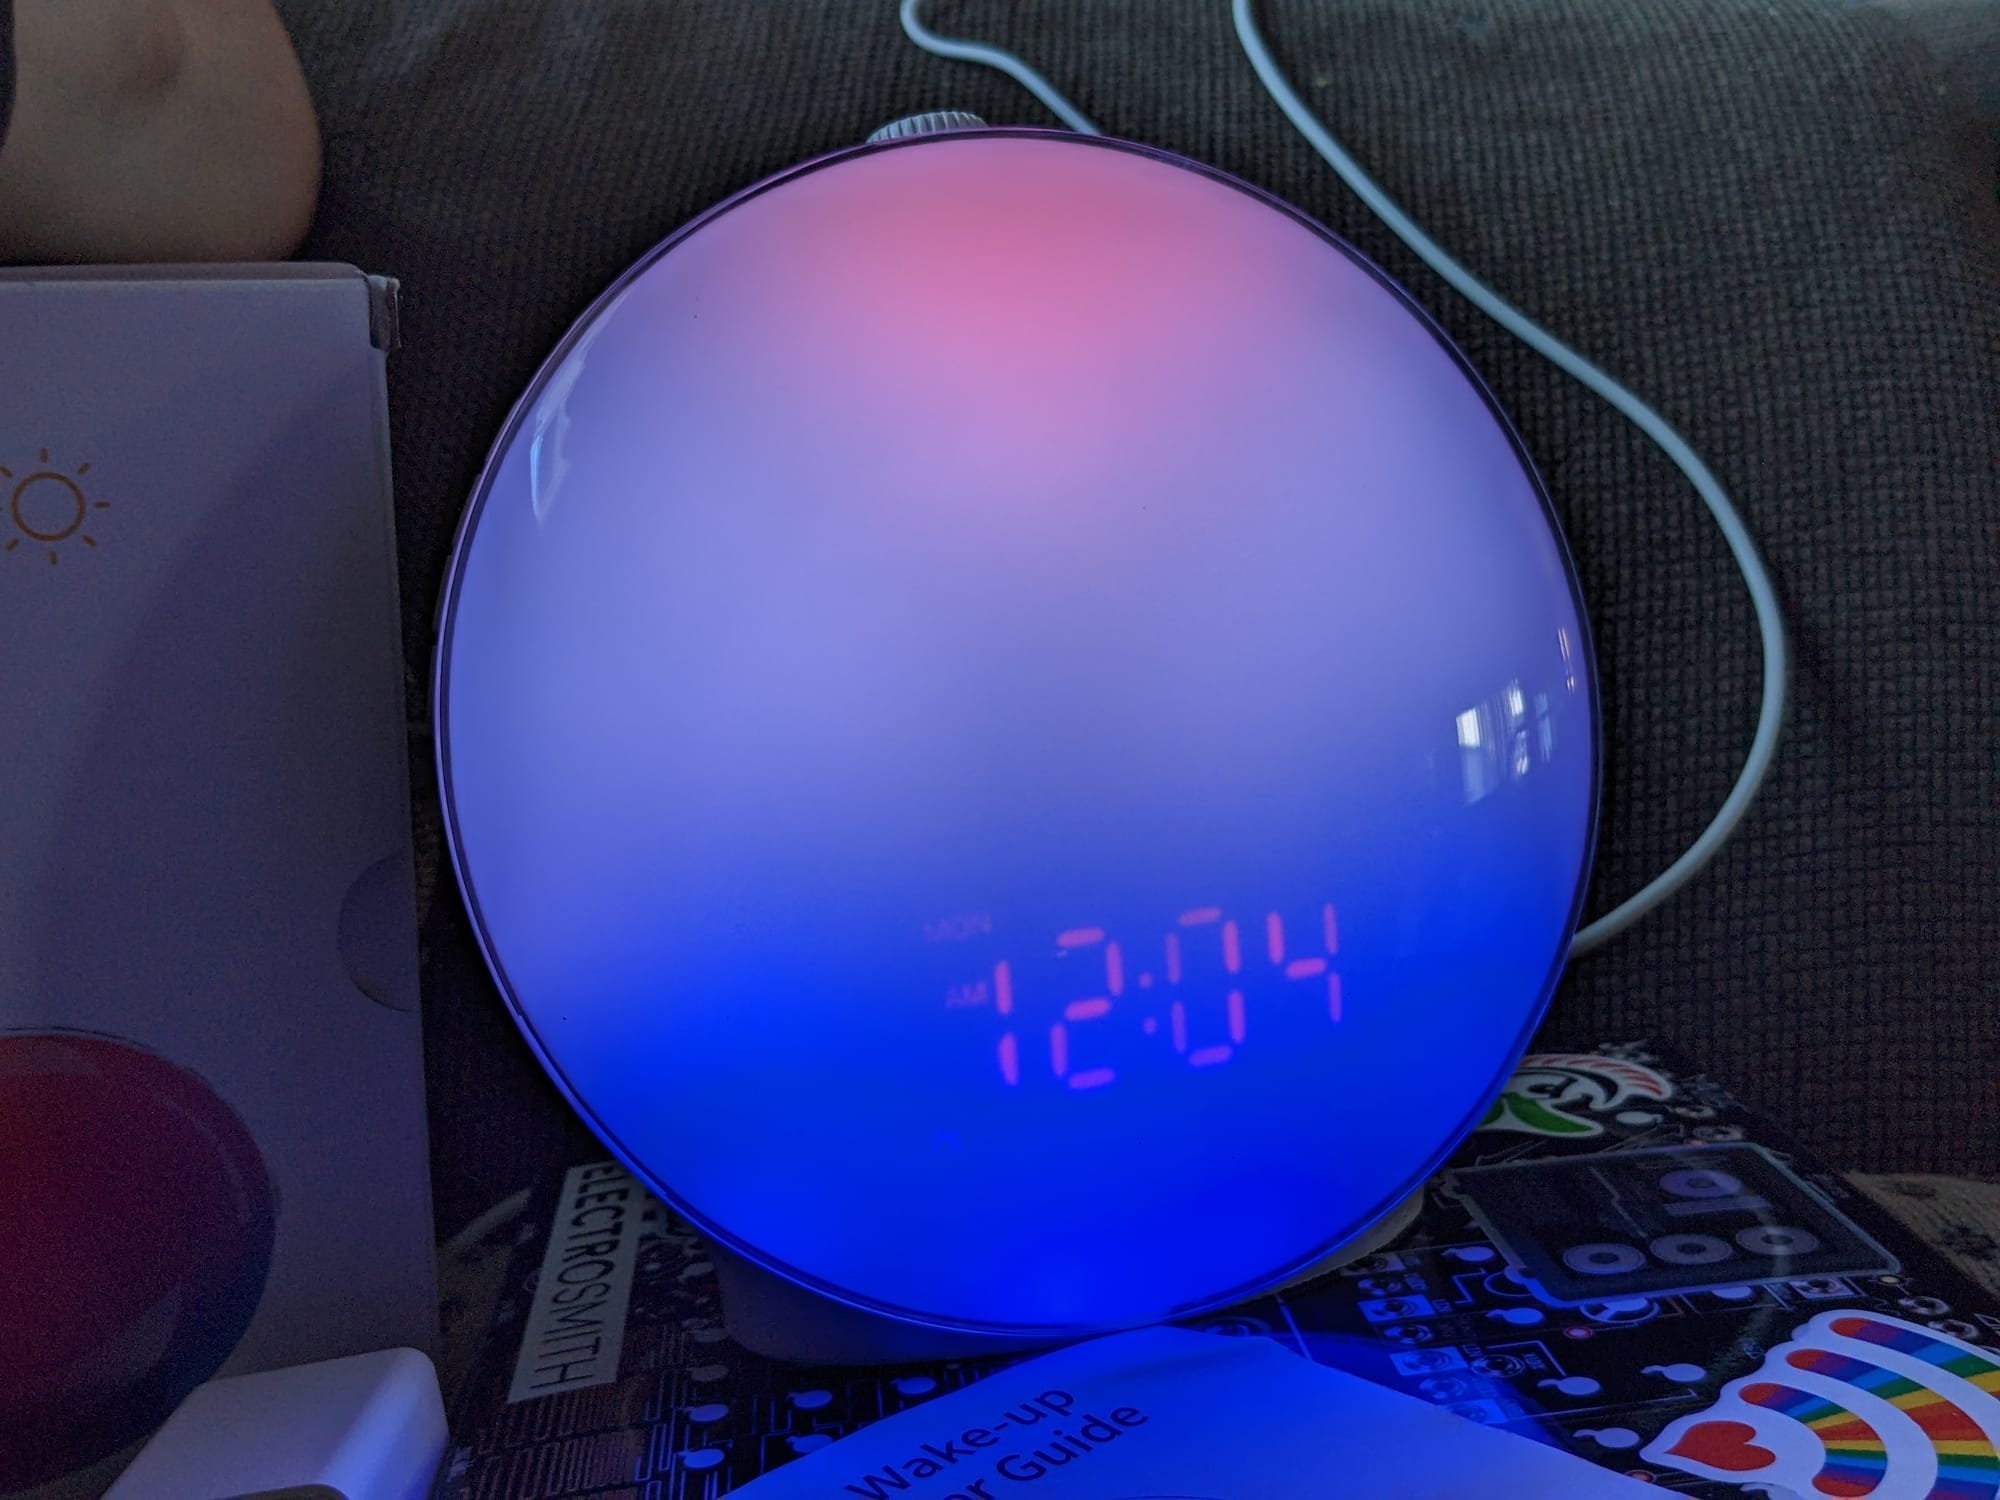
While continuing to plan and waiting on all the supplies, I started getting the decor in order. I acquired some checkerboard bedsheets, an appropriate alarm clock, an 8-foot tall silk palm tree, a re-creation Blockbuster Video sign, and an element not found in the original plan: an Ibanez SR300E bass guitar in Metallic Pink, which I promptly put a checkerboard strap and bright white strings on.
LED Channels and Diffusers
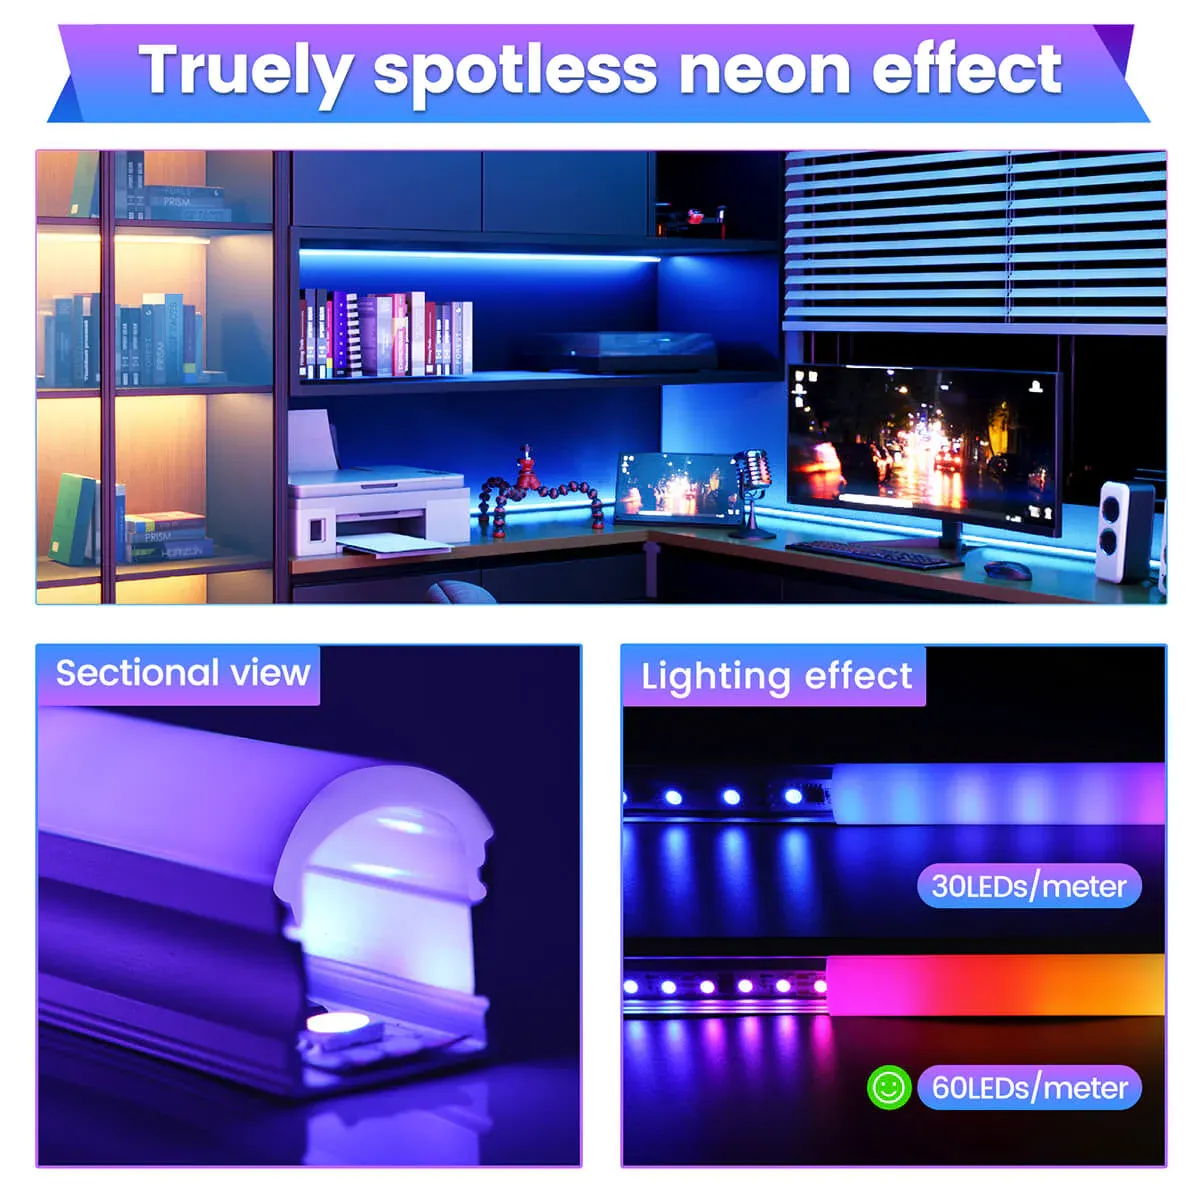
To achieve a neon look, I'd need the thickest white diffusers I could get my hands on. Here, I researched on YouTube and quickly found the Muzata U108 "Spotless" diffuser was about the only one on the market that would do what I needed. I would need LEDs spaced at about 60-per-metre for it to look right.
How many 6-packs of 1m-long U108 channels would I need? The room is around 108 square feet which is about 10.08m². That means 3.174m per wall (assuming the room were square), which is around 12.7m perimeter. Multiply that by 2 (two rows of LEDs) and we have 25.4m needed. I bought 4 packs of U108 channels over a handful of months, smoothing out the expense and figuring (rightly) that it'd take me some months to put them all up.
WAIT A MINUTE, I hear you saying, the math doesn't line up and this leaves 1.4m without diffusers! You are correct. While I did end up buying more channels to account for this I received the wrong diffuser, didn't realize until later, and was outside the returns window. I still haven't bought new ones so there is currently a gap where channels are in place but diffusers are not. Eventually I'll fix this, but I haven't been able to justify purchasing a full 6m of diffusers for the purpose.
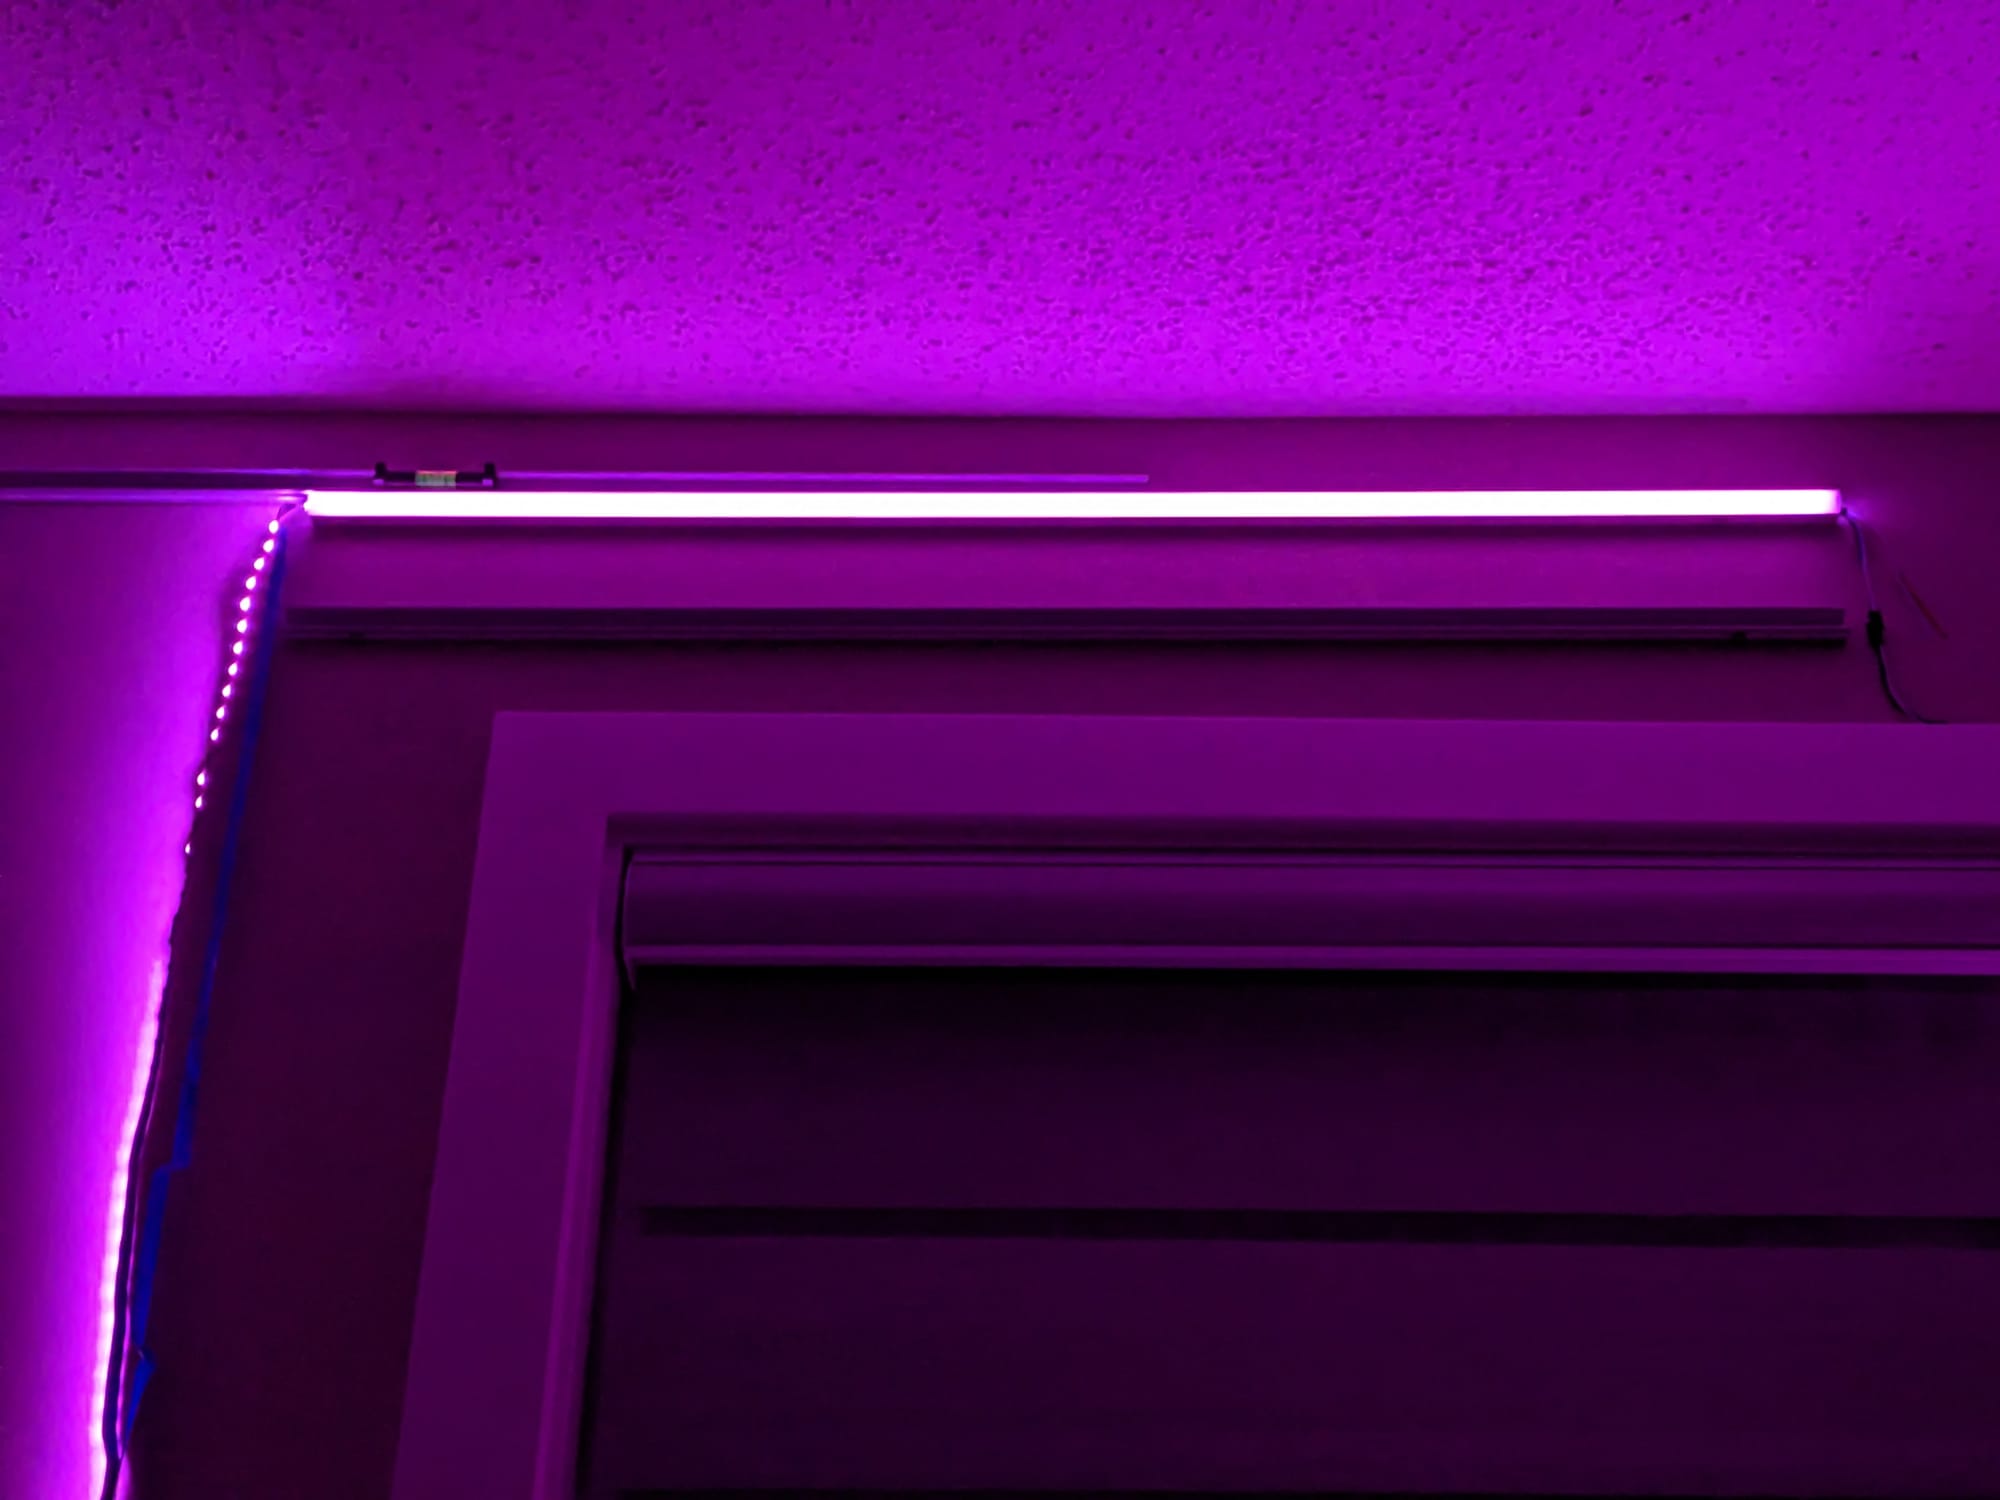
Cutting the lengths and corners for the channels was the biggest pain - I wanted seamless corners so ordered a hacksaw jig to be able to cut 45 degree angles. It worked in the end but mistakes were made and more planning and measurement in advance could have gotten me better results.
LEDs and Power Distribution - Plan A (do not do this)
The technology I was most familiar with, 5-volt WS2812B integrated LEDs, can draw up to 50mA (milli-amps) of current. That seems quite small, and certainly isn't much for a single, very bright, multi-coloured LED soldered onto a dev board. However, to navigate the perimeter of this room with the required density of 60/m twice over would require over 1500 LEDs and the current requirements, at full brightness, would be almost 80 amps. In terms most will understand, that's about 400 watts.
A sensible person who had done this sort of installation before would have concluded that if they wanted to go the 5-volt route, they'd need multiple power supplies with several injection points. For me, I took the road less traveled by, and learned many lessons. I'll share these as I explain below.
I decided to use an old 650W ATX (computer) power supply I had in storage (watch this video as a starting point). This, in itself, was not a terrible decision – while the 5v supply on the Corsair was not capable of supplying the necessary current, the 12v supply line on this Corsair would have more than enough juice for the task. Still, I was stubbornly insistent on using 5v LEDs in spite of several problems I'd encounter at this scale.
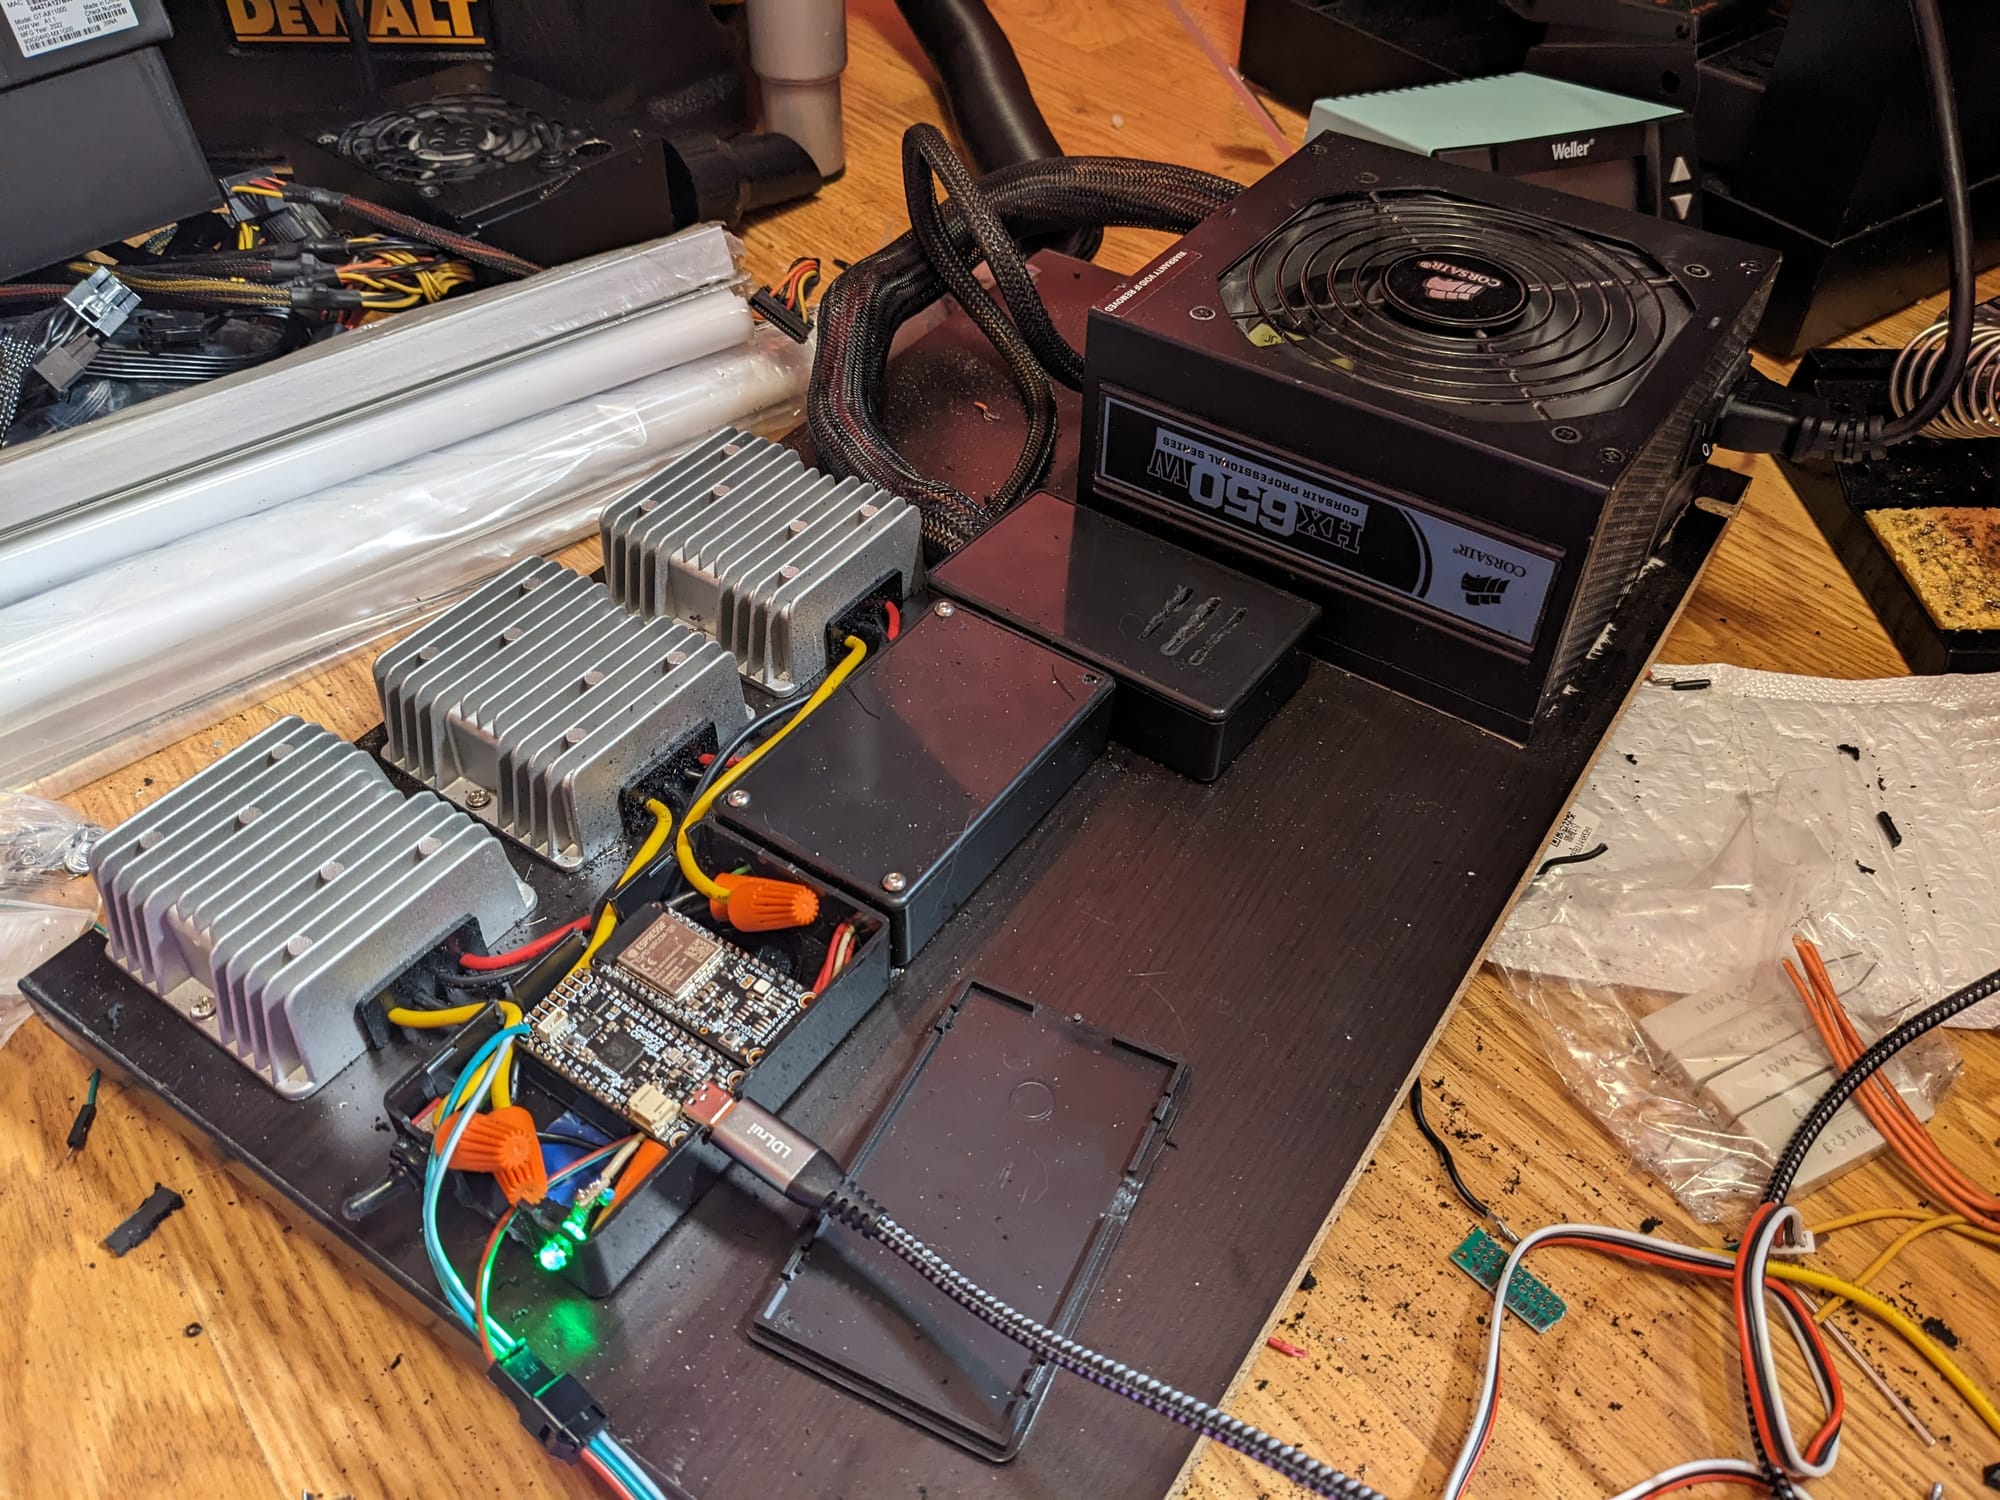
5v Advantages
- Low risk of fire or electrical shock
- Power runs are fine over 22AWG wire (of which I had plenty already)
- I knew 5v LEDs could be controlled with 3v microcontroller IO without step-up (though it's not necessarily advisable)
- 12v can be buck-converted down to 5v
- Sunk-cost: I'd already bought the 5v strips 😅
5v Disadvantages
- 5v does not travel over distances well - I would need a 12v power feeder line running around the room and would have to convert it down to 5v in 3 places, by my calculations
- 12v to 5v buck converters that carry enough current are bulky and would need to be wall-mounted to be close enough to the LED strips they need to power
Those disadvantages are immense, but not wanting to deal with something new to me (12v LEDs) or spend on new LED strips, I pushed ahead. Silly me.
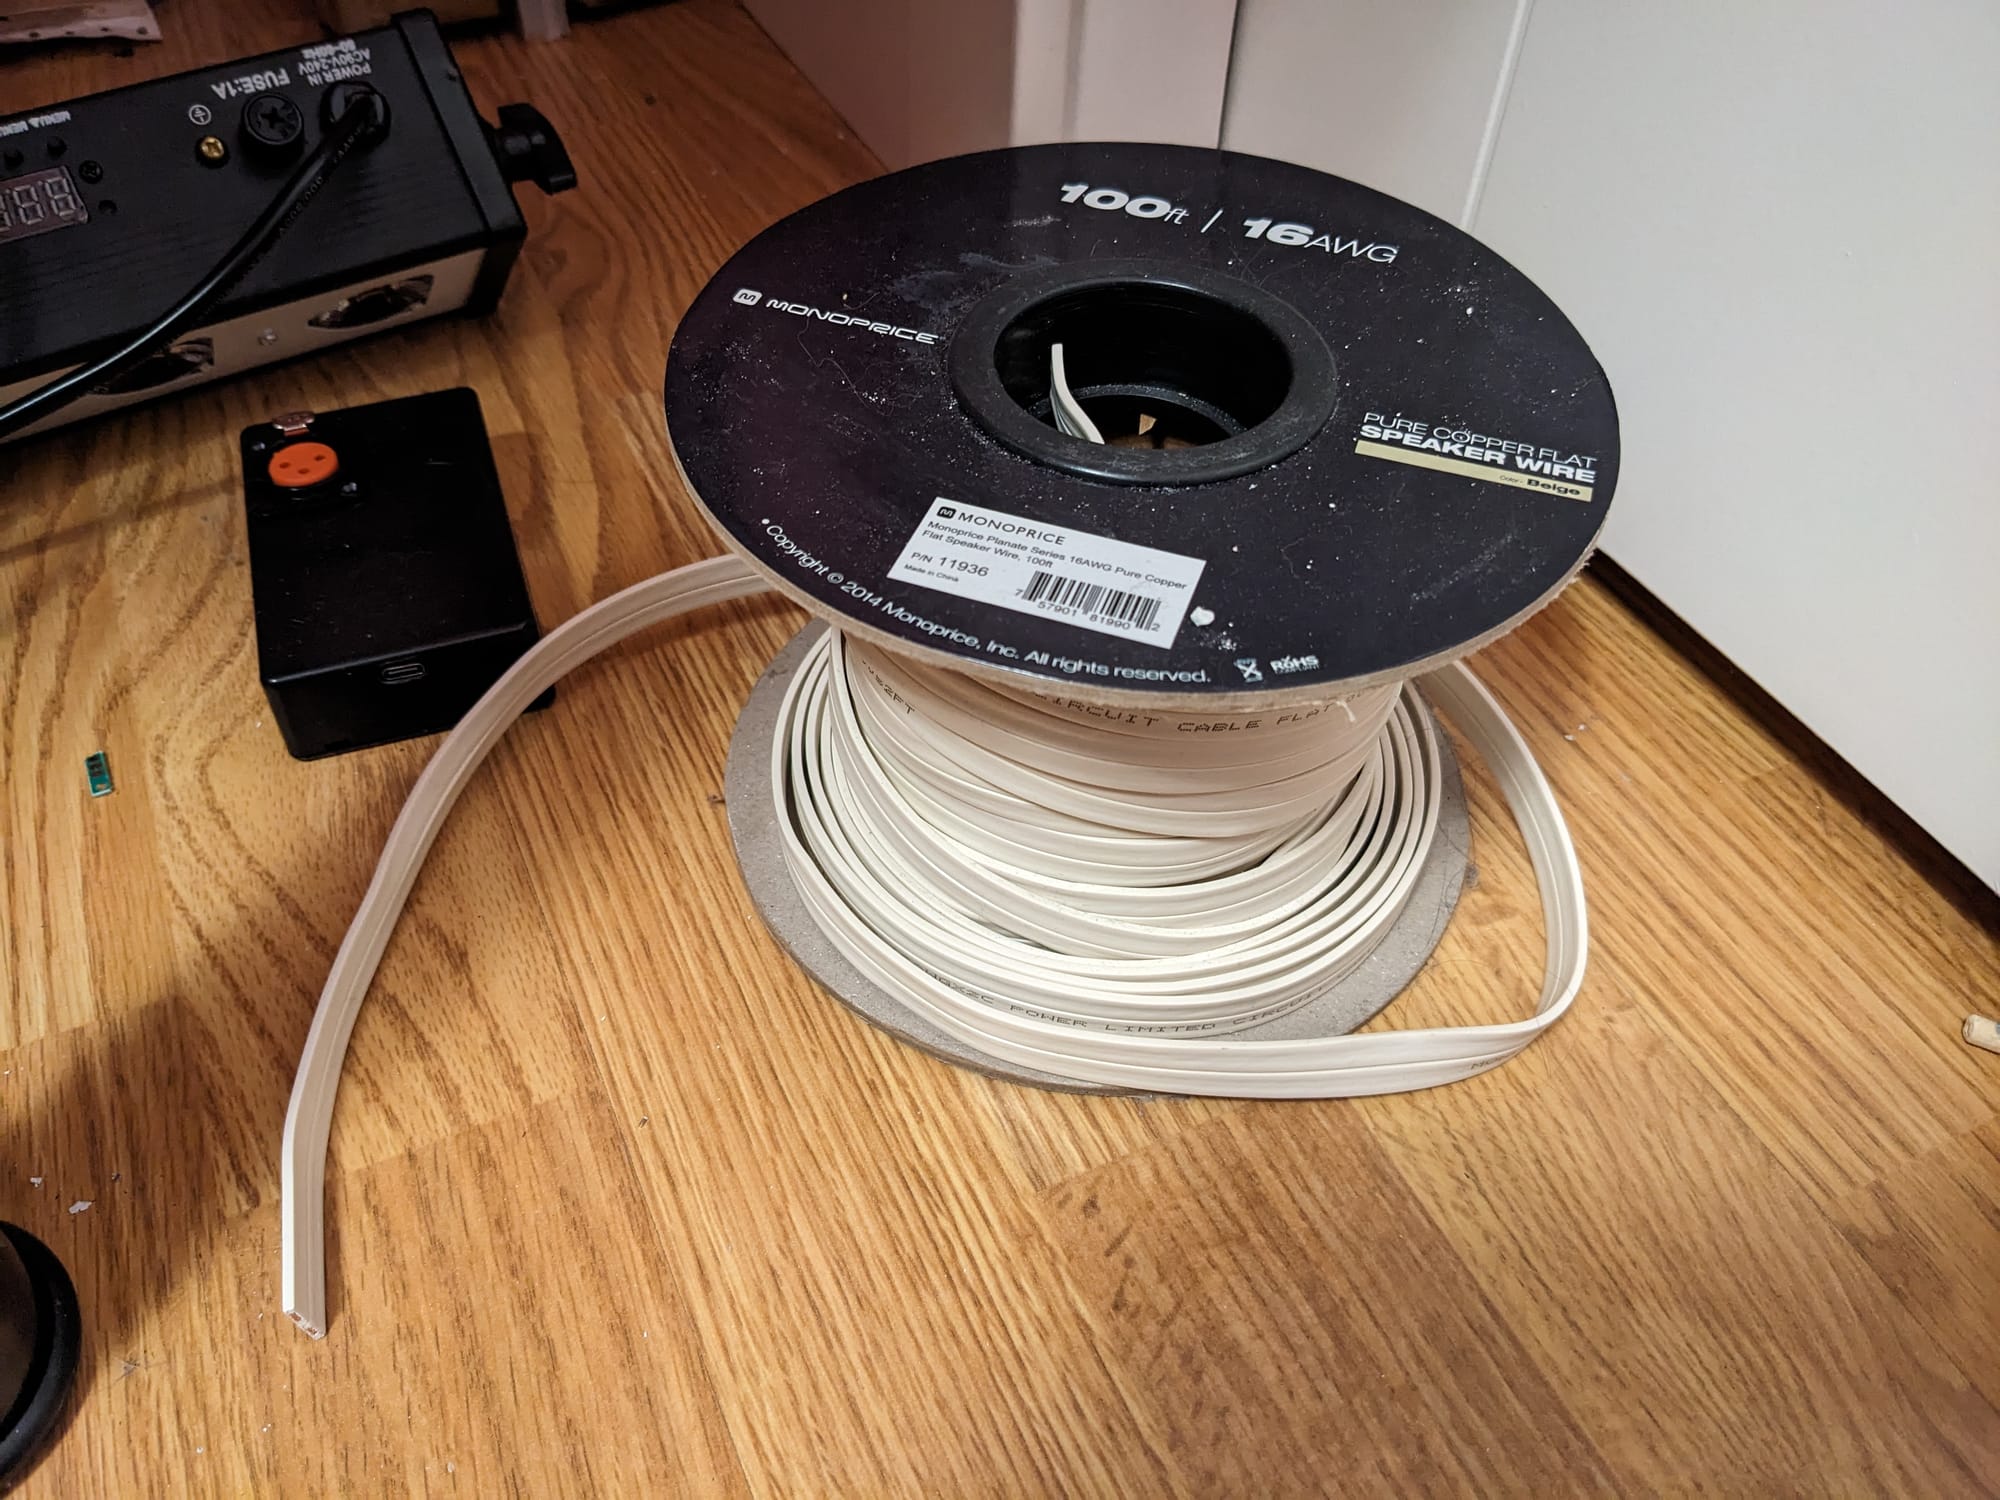
I ordered some perfectly-sized, flat, 16AWG speaker wire for running the 12v alongside the LED channels, ordered some bulky 20A buck converters, and tried to make everything work.
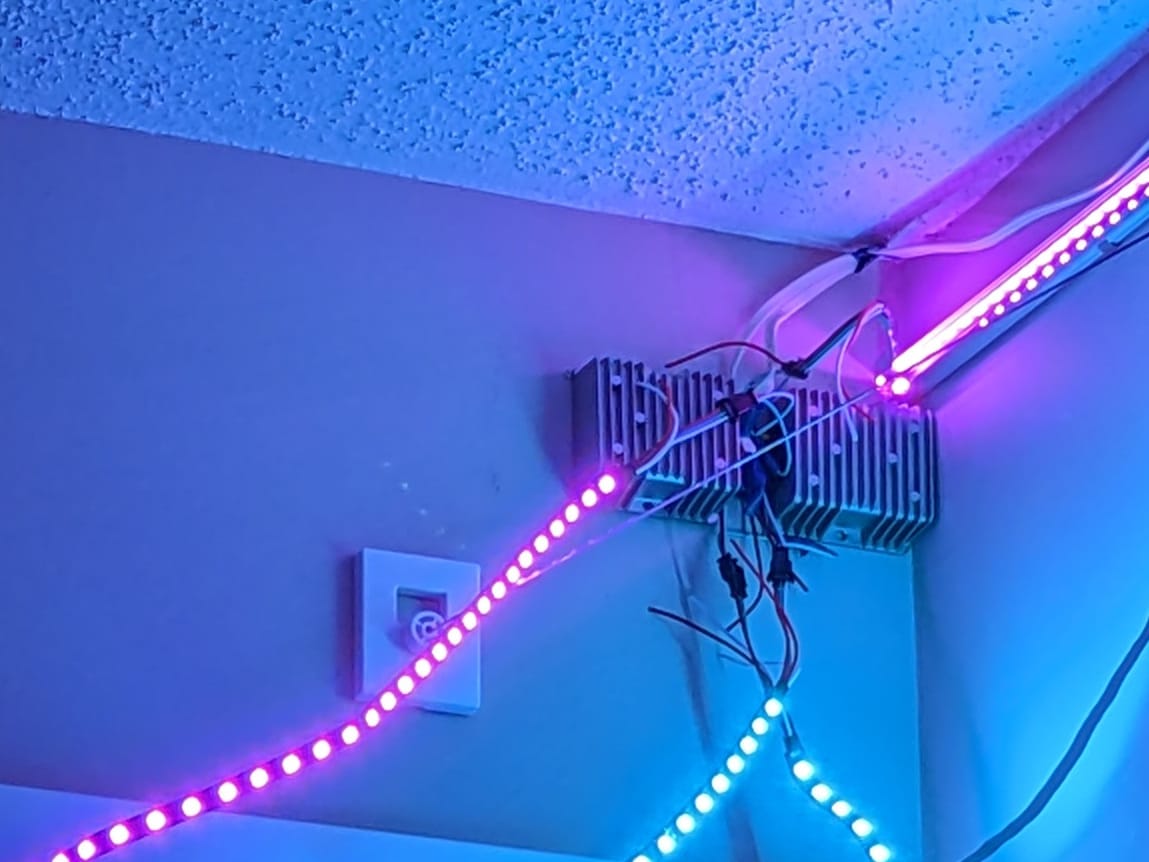

Within a couple months I became highly disillusioned with this approach to powering the LEDs. Not only did I have these unsightly buck converter lumps on the wall, but they were introducing weird noise into the line. This was clearly not the way to go.
I took multiple months away from the project to get my bearings and took on many other projects in that time, though I did work on some peripheral elements like my idea to add paper lanterns and a galaxy lamp to the decor.
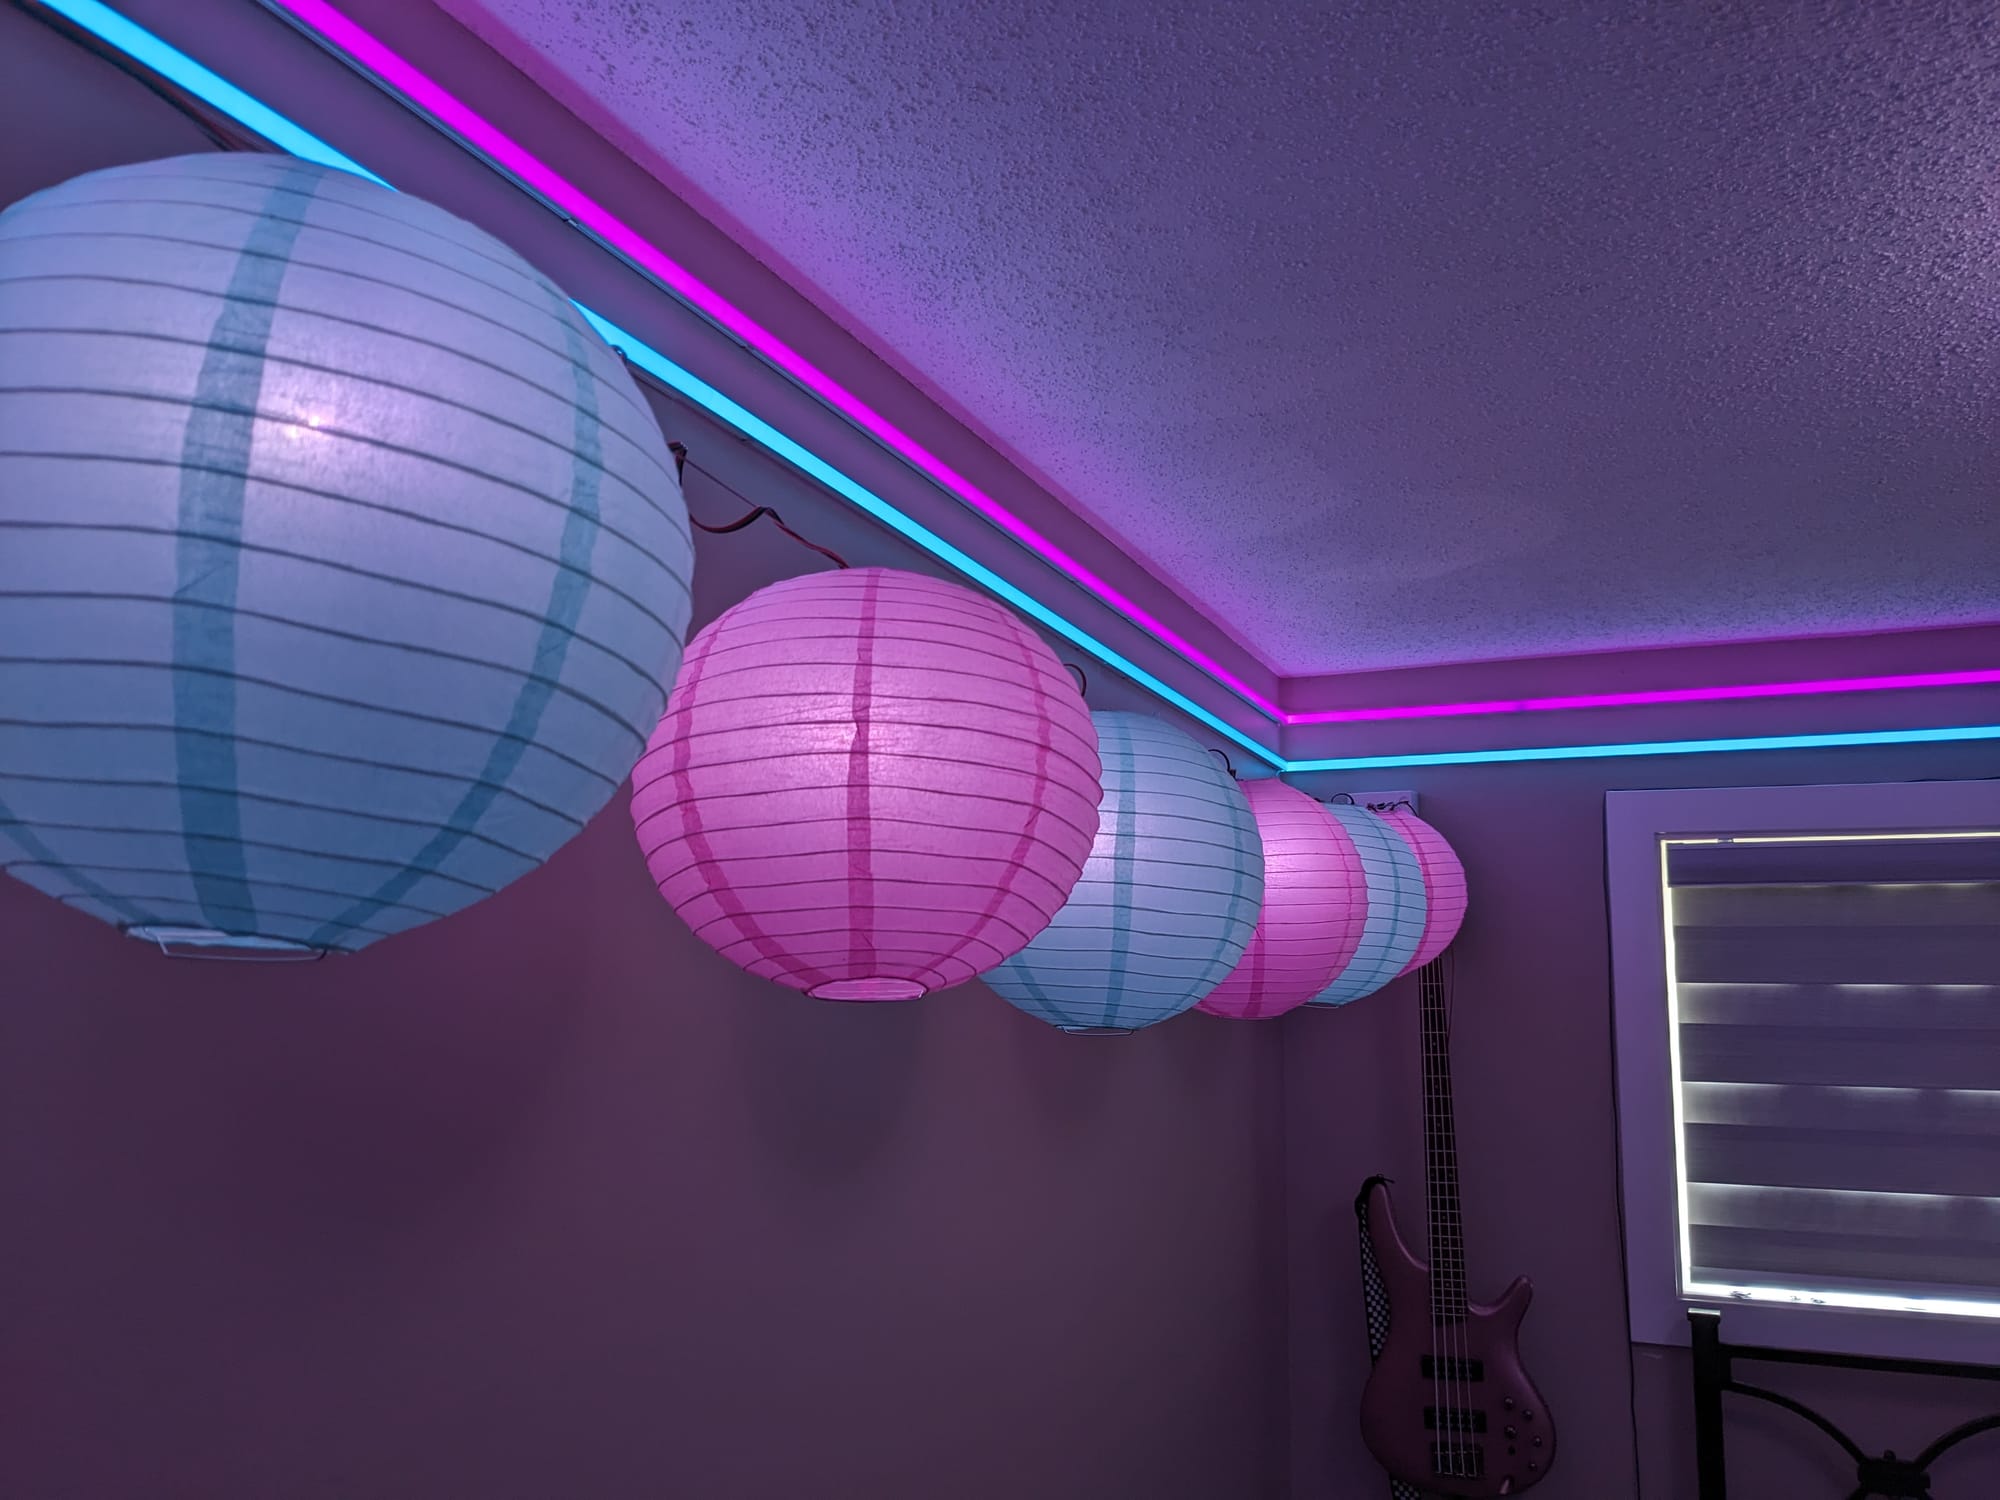

LEDs and Power Distribution - Plan B
I finally bit the bullet and bought 12v, ws2815 LED strips in August 2023. Down came the buck converters and 5v strips I had put up so far, up went the 12v strips. I kept the ATX power supply and 12v injection point I had wired to the corner of the room, but it looked a lot less unsightly without the buck converters. I could finally be excited about the project again and in short time I had it completed.
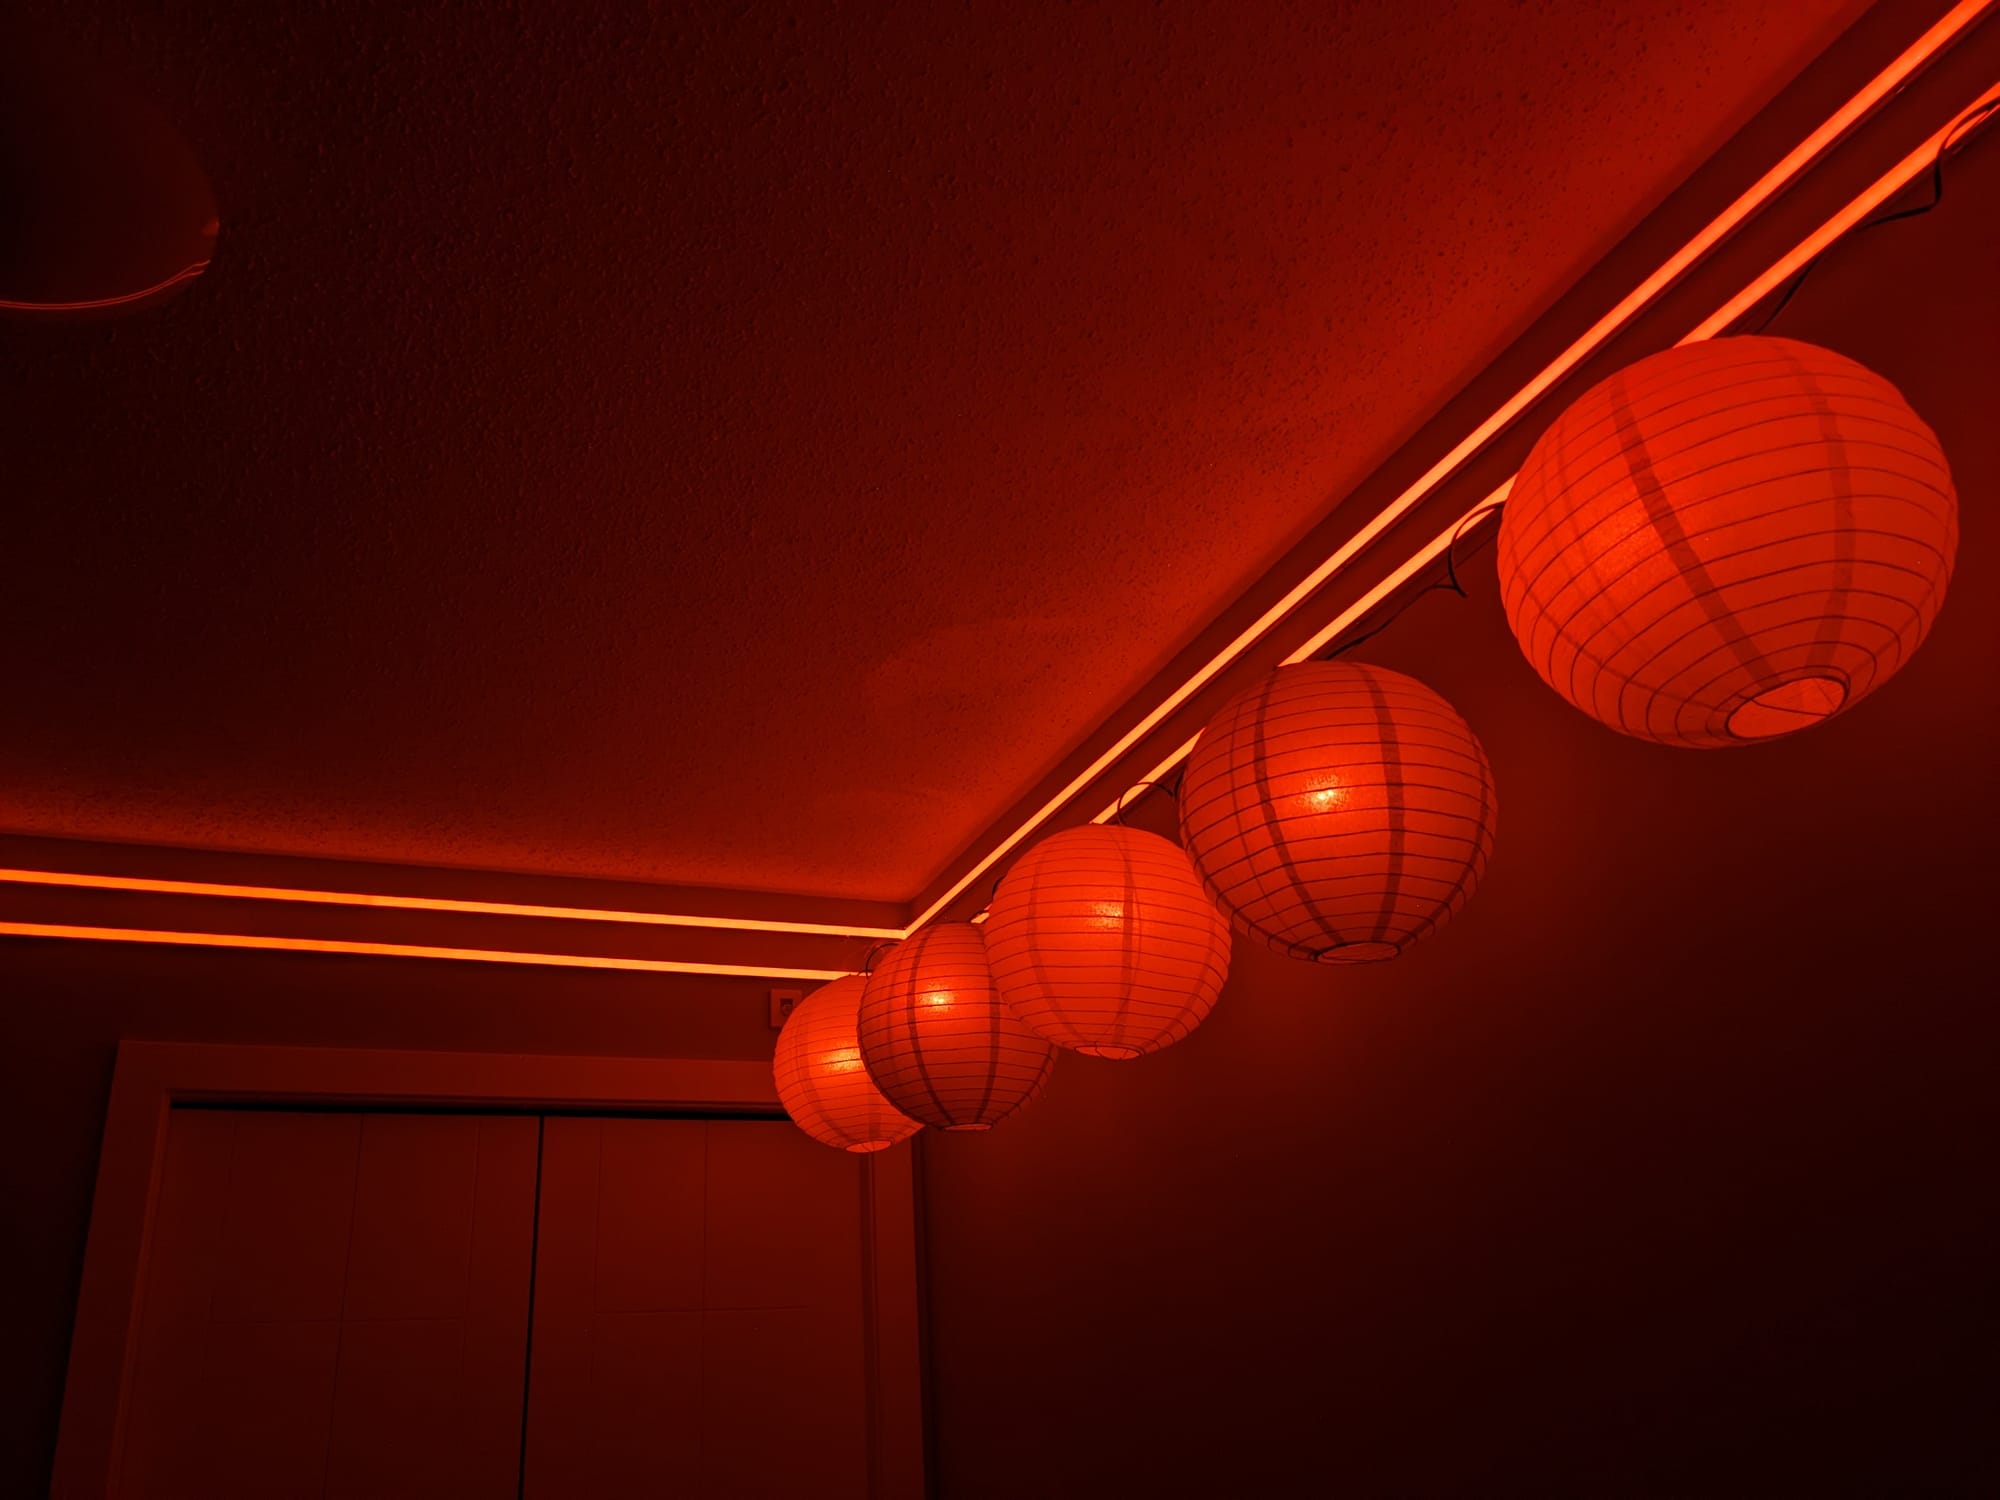
I'm running 12v and ground to the start and end of the LEDs and the corner of the room (almost to the half-way point). Power injection part-way along is necessary to ensure the LEDs don't lose brightness or colour as they get farther from the power source. They lose brightness at 12v mainly because the conductor along the strips is not high enough gauge (wide enough) to let enough electrons through. By contrast, the 16AWG speaker wire is a wide, unobstructed path for the electrons to travel along – there are still plenty of them available to inject power into the LEDs at the half-way point, balancing out the power distribution.
Conclusion
Lessons to draw from the above:
- Don't give in to sunk cost fallacy – it's not worth trying to make the wrong plan work just because you've already invested in it.
- Measure twice, cut once – try not to just wing it with DIY projects like this, as tempting as that is. The more measurements you firm up in advance, the simpler the work will be. On a friend's LED project we've done in a couple days what took me months to do at home.
- 12v power is better for runs of multiple metres than 5v
- ATX power supplies are work horses
Part 2 of this article will be about the various LED controllers (both off-the-shelf and DIY) I've used to drive all the LEDs.
